Computer Graphics
What are Computer Graphics?
We learnt that there are 2 kinds of computer graaphics, raster and vectors.
Raster graphics are composed of pixels. Every image has a set number of pixels of varying colours so when we zoom in on a curve, for example, the curve will become more blocky. Raster makes use of this thing called bitmaps, which refers to the number of pixels of the grid. This is why we see 1080x720, 640x480 and so on. Those numbers refer to the number of pixels on the horizontal axis by the number of pixels on the verticle axis. To store a more detailed image, more pixels are needed which will require a larger file to store the bitmap and thus will take up more storage space. These images can be compressed to use a smaller file size through the use of algorithms. This comes with a downside of having a more blurred and pixellated image.
File Extensions
- .BMP
- .TIF
- .GIF
- .JPG
Vector graphics makes use of mathematical statements and commands to generate lines onto 2D or 3D environments. Thus when you zoom in into a vector image, you will see a continuous, nice looking line instead of a blocky image like the ones seen with raster. In vector graphics, files are saved as a series of vector statements. So instead of having a bit in the file for each bit of line drawing we use commands which describe series of points to be connected.
- .SVG
- .EPS
- .AI
- .DXF
Basics of GIMP
In this lesson we learnt the basics of GIMP. GIMP is a free to download raster graphic editting software. As part of our post lesson assignment, we were tasked with removing the background of a person and replacing it with a beachside background. Here is how I did it.
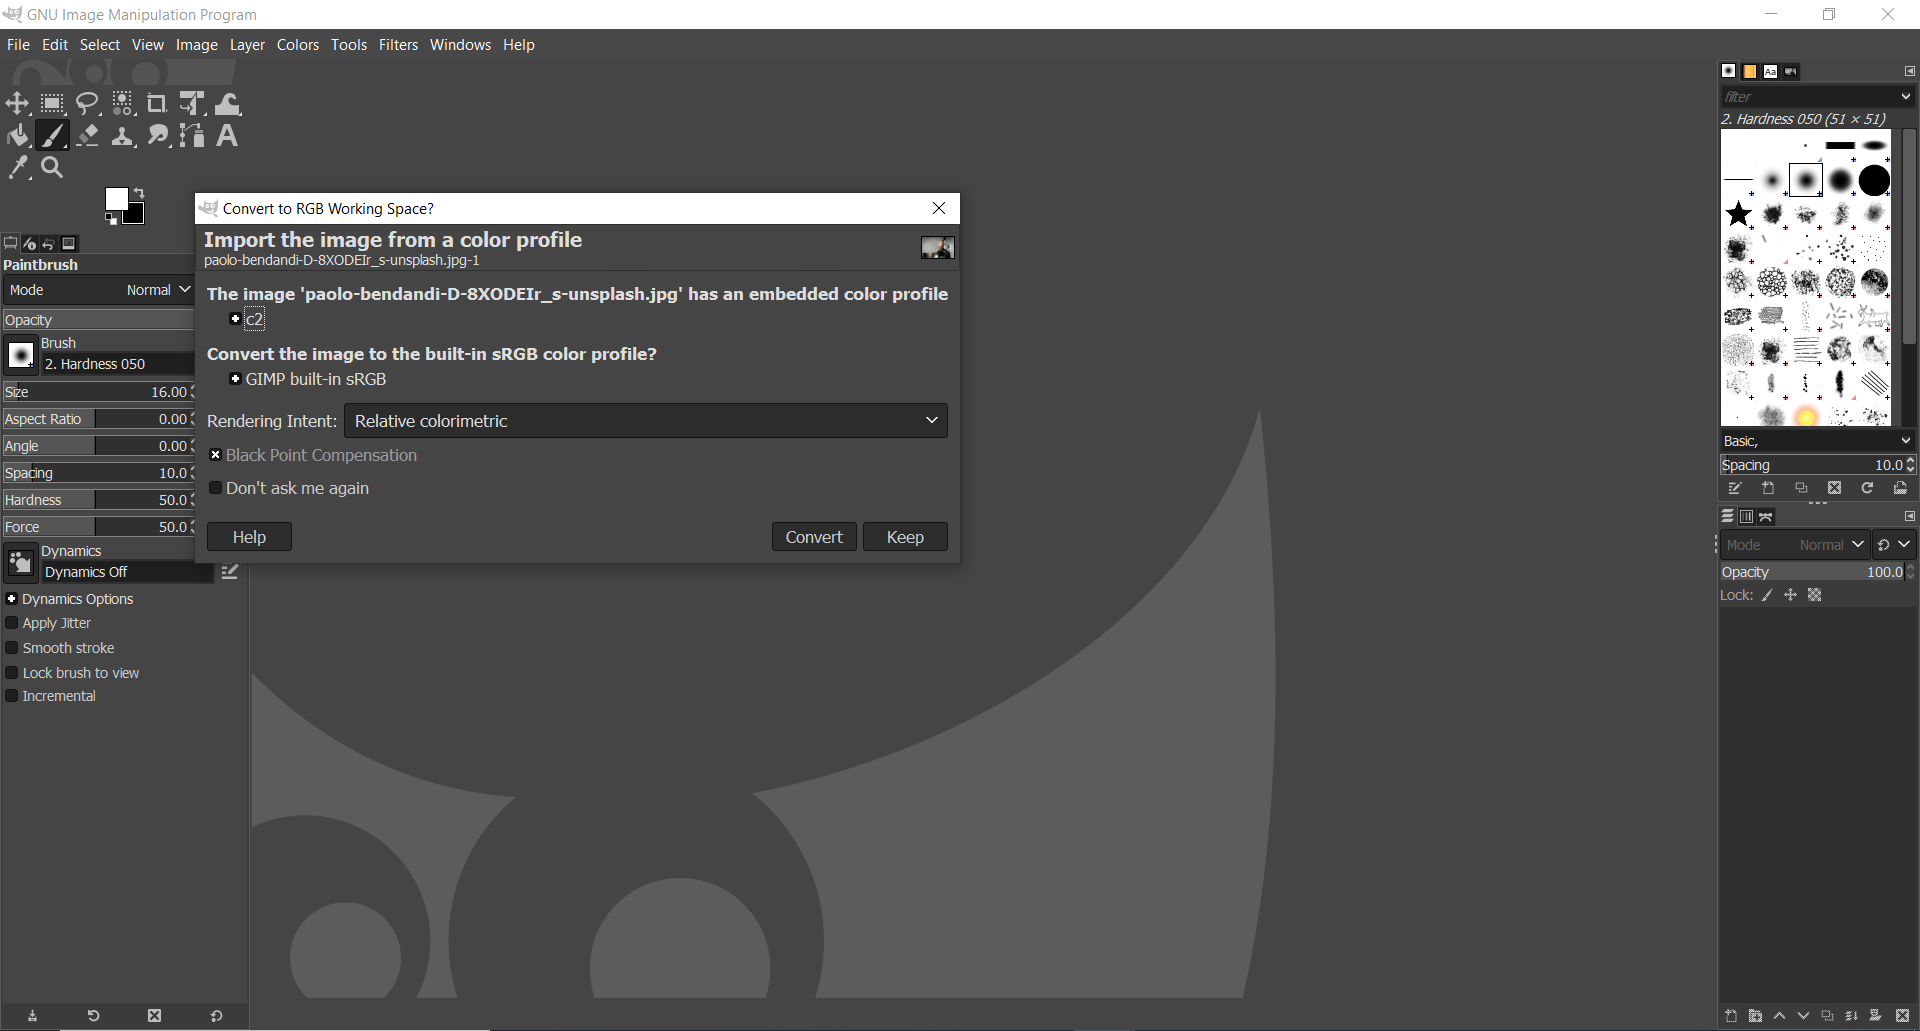
In the image above, I dragged and dropped a photo of a man I downloaded, found here. A popup like the one seen in the image above will appear. Click convert.
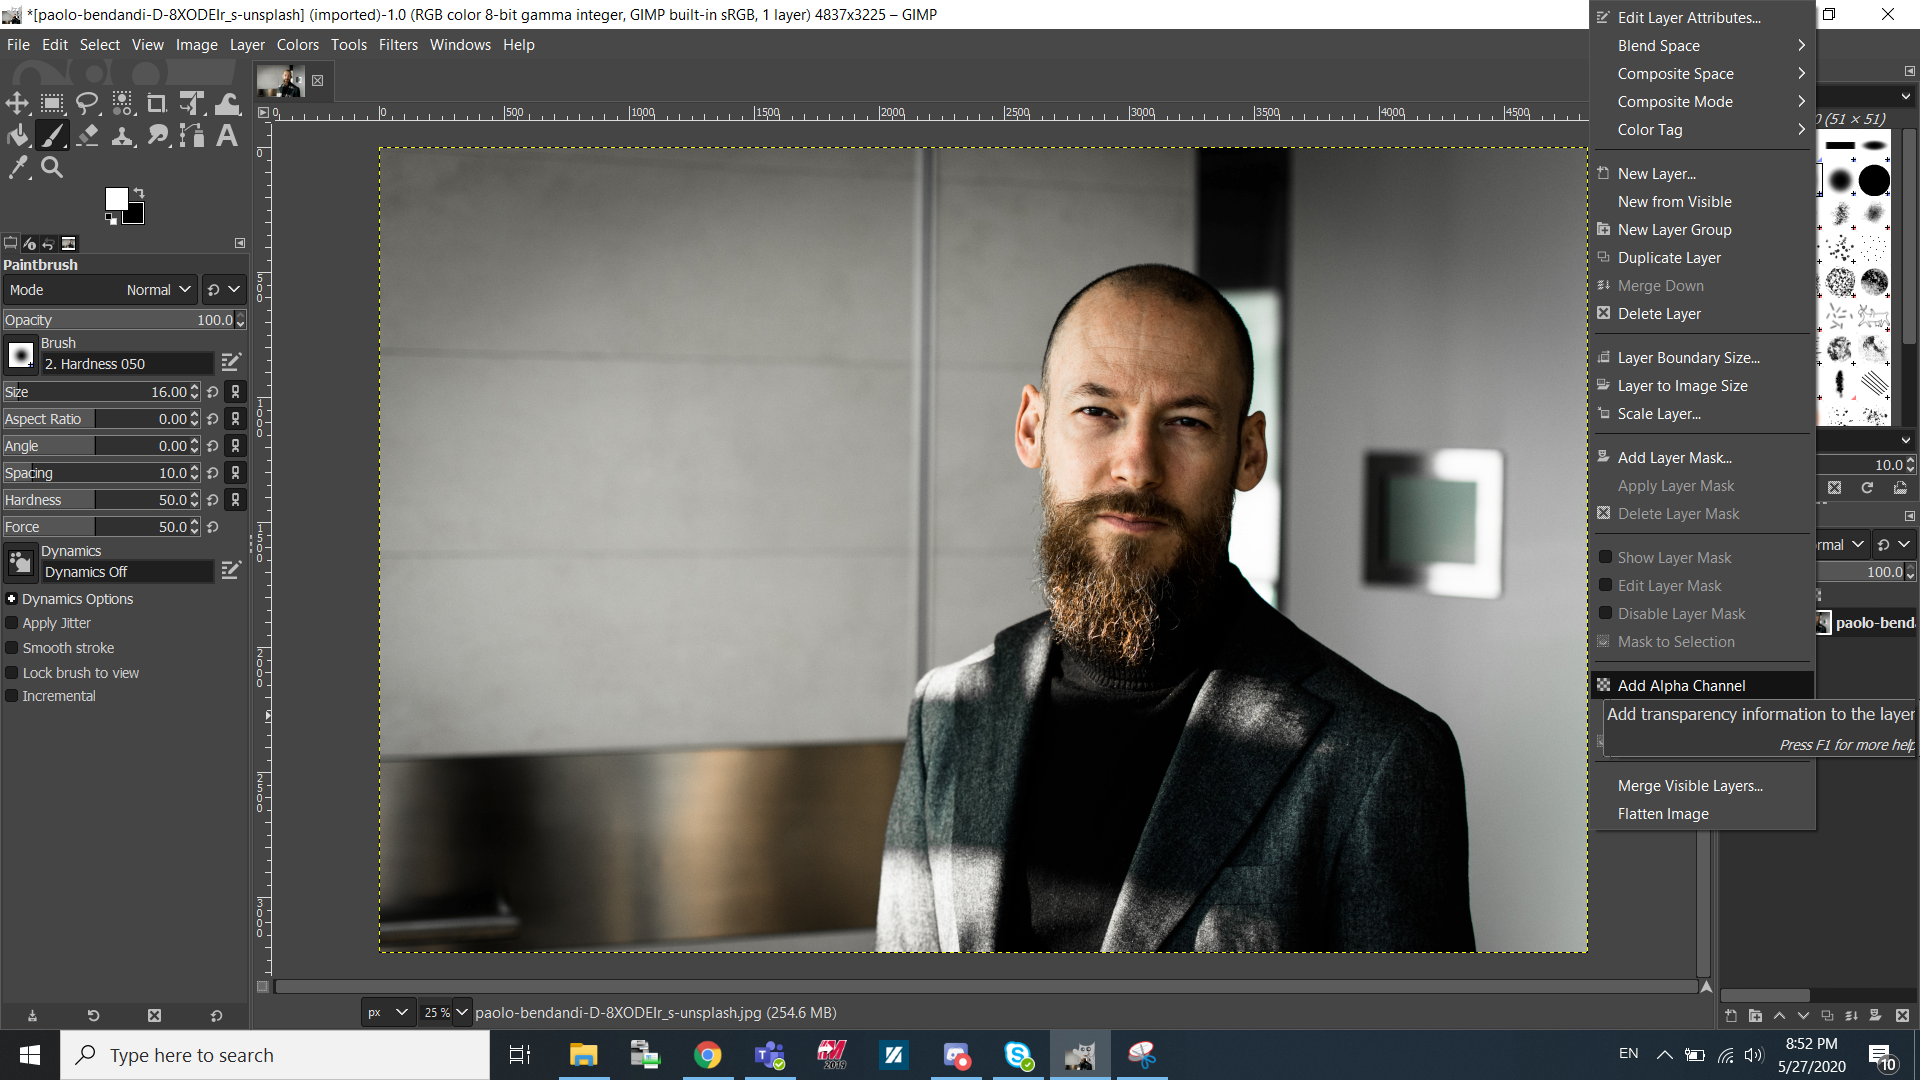
Next, right click on layer, found on the left column of the editor. Click add Alpha Channel.
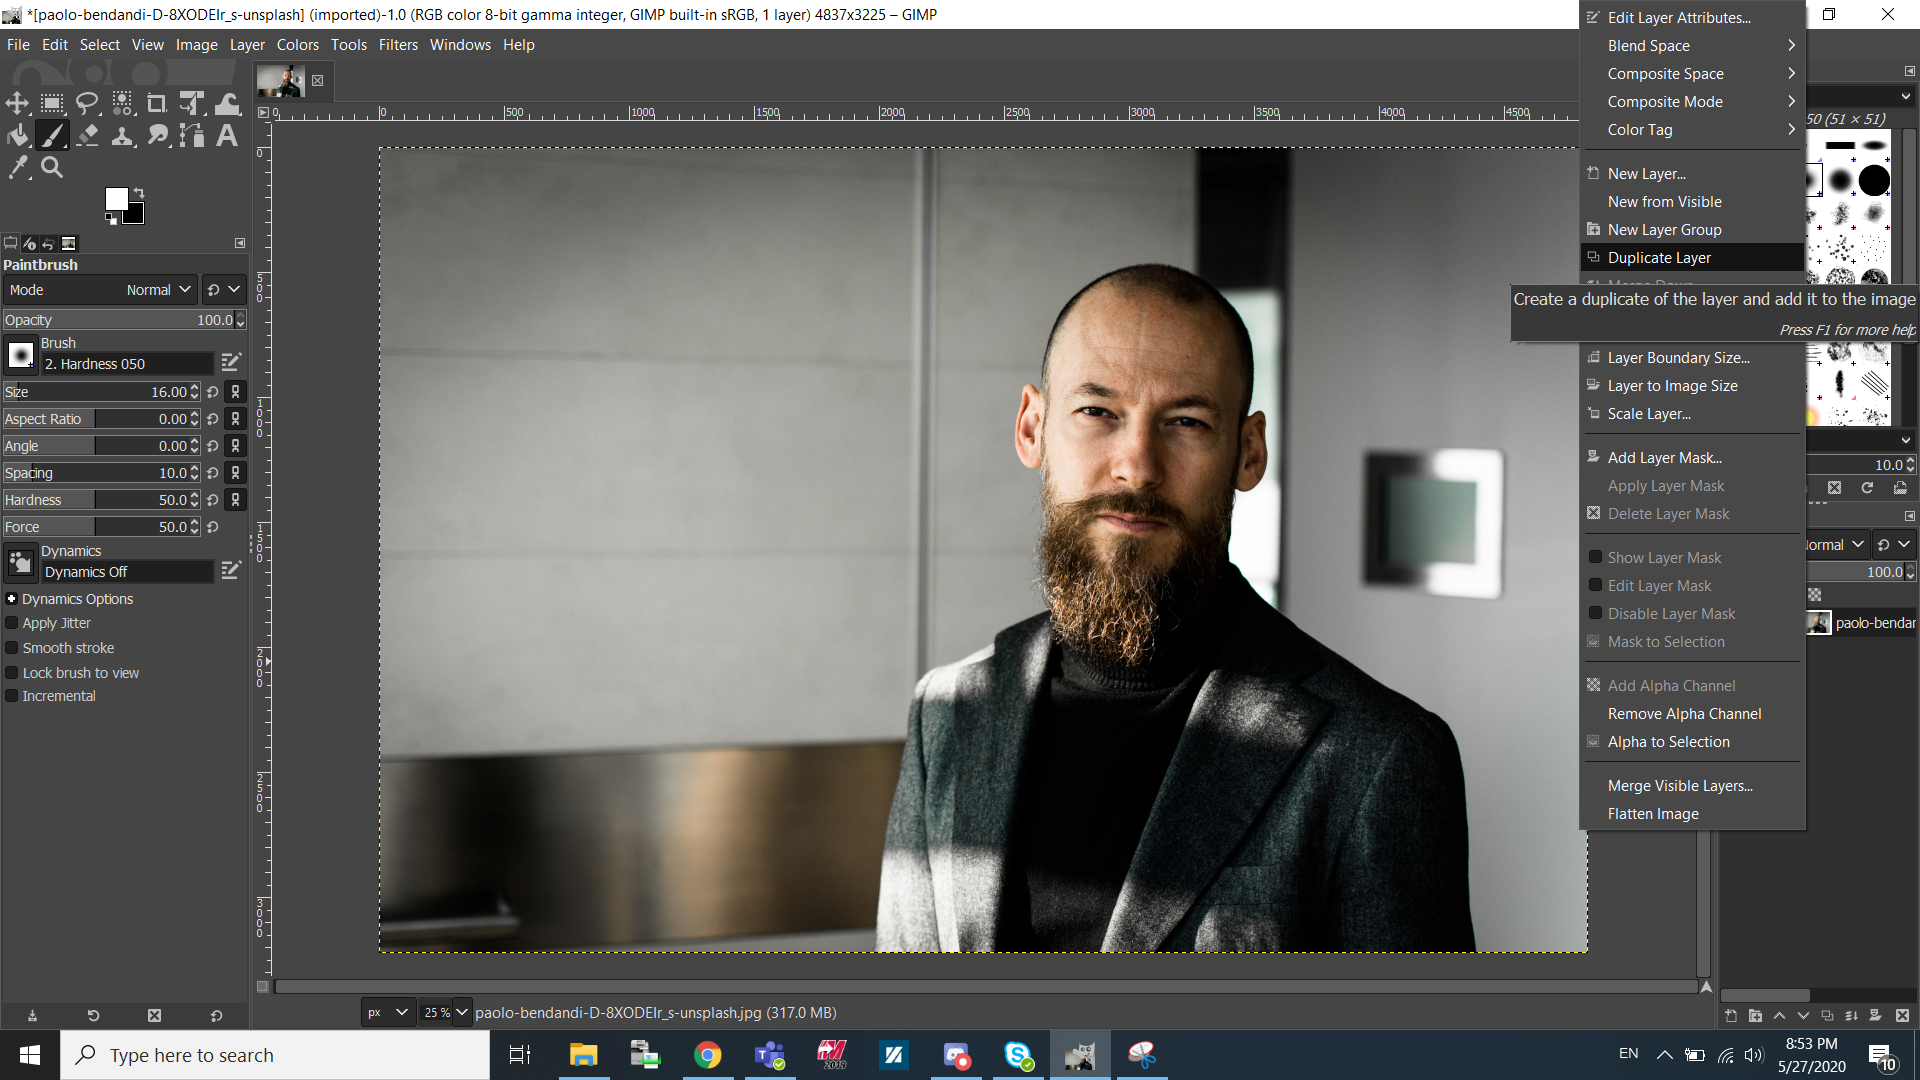
Now right click on the layer again and click Duplicate layer. You will now have 2 of the exact image.
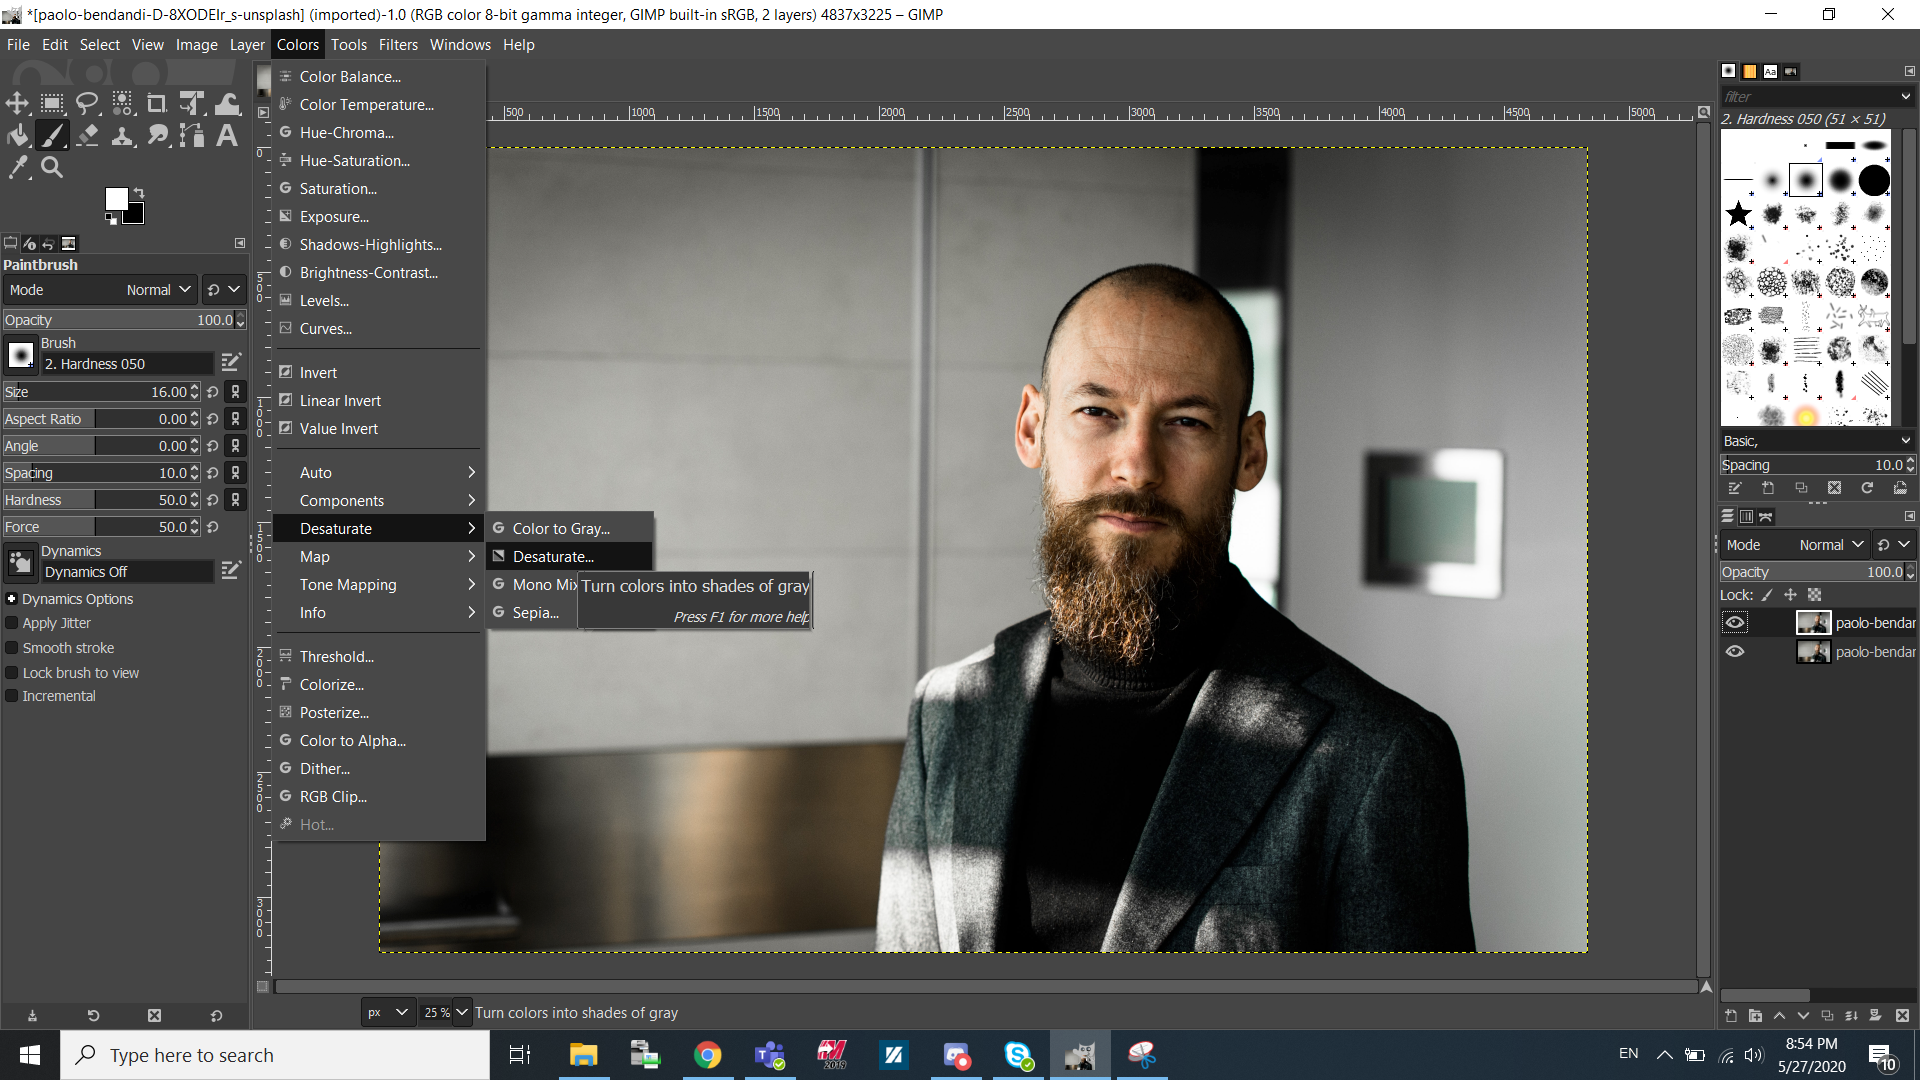
The next step is to desaturate the image. The goal of this is to make the background black and the person white so that we can remove the black background and keep the white person. To desaturate, click colours on the top bar and click desaturate
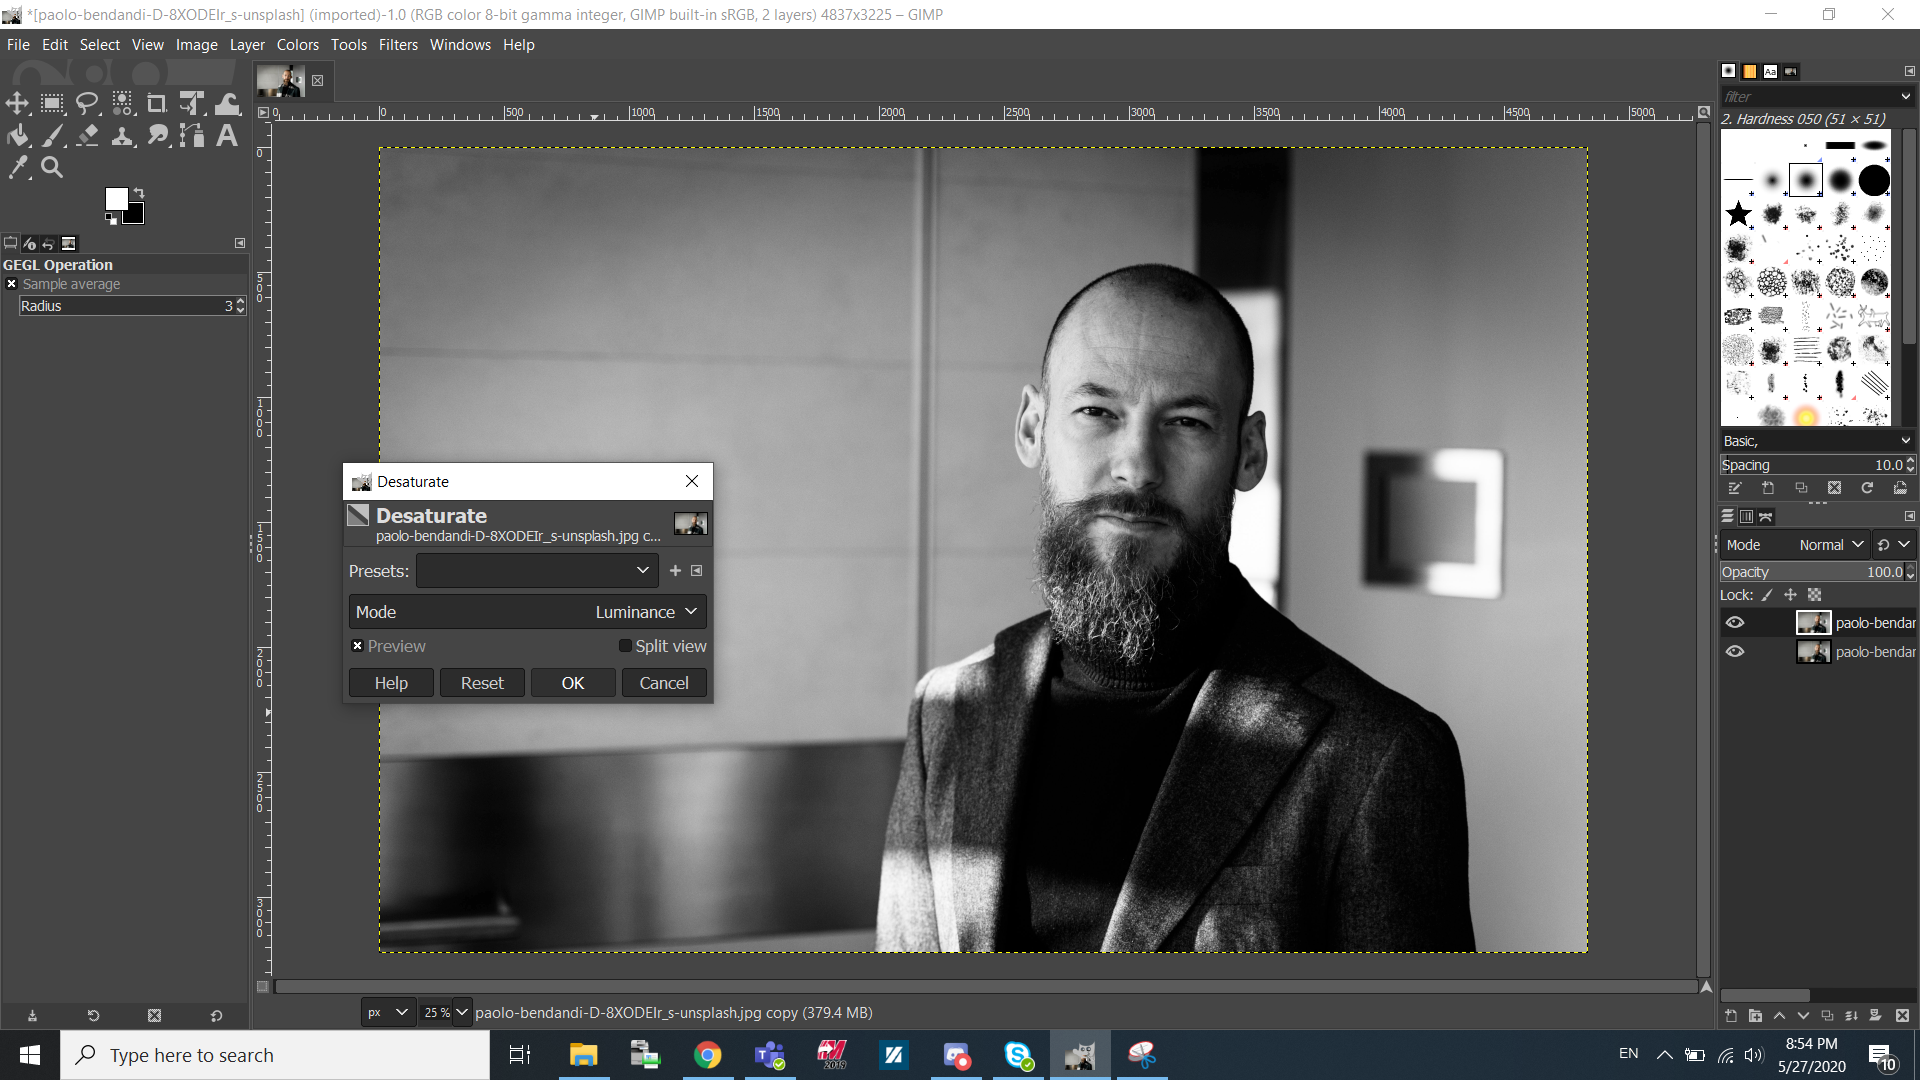
We will keep luminance mode on and click OK.
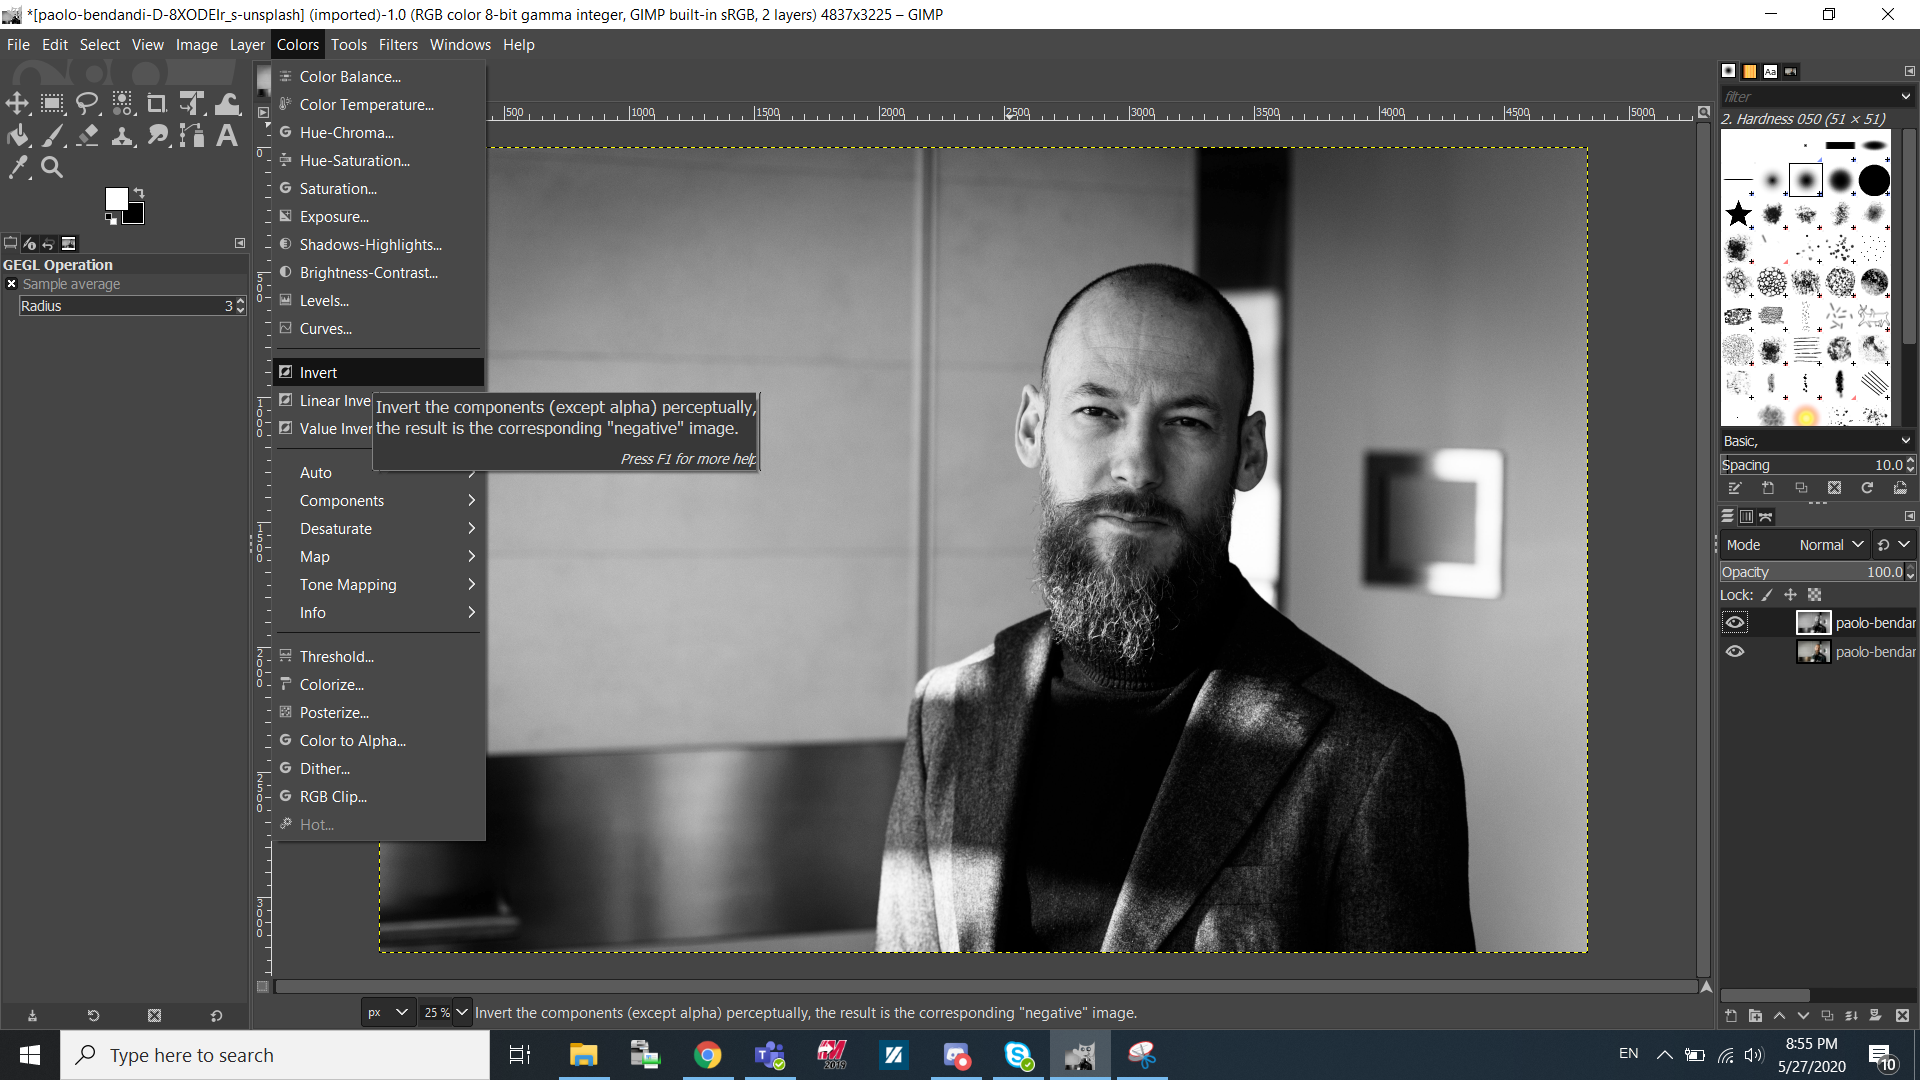
Under colours again, we will press invert
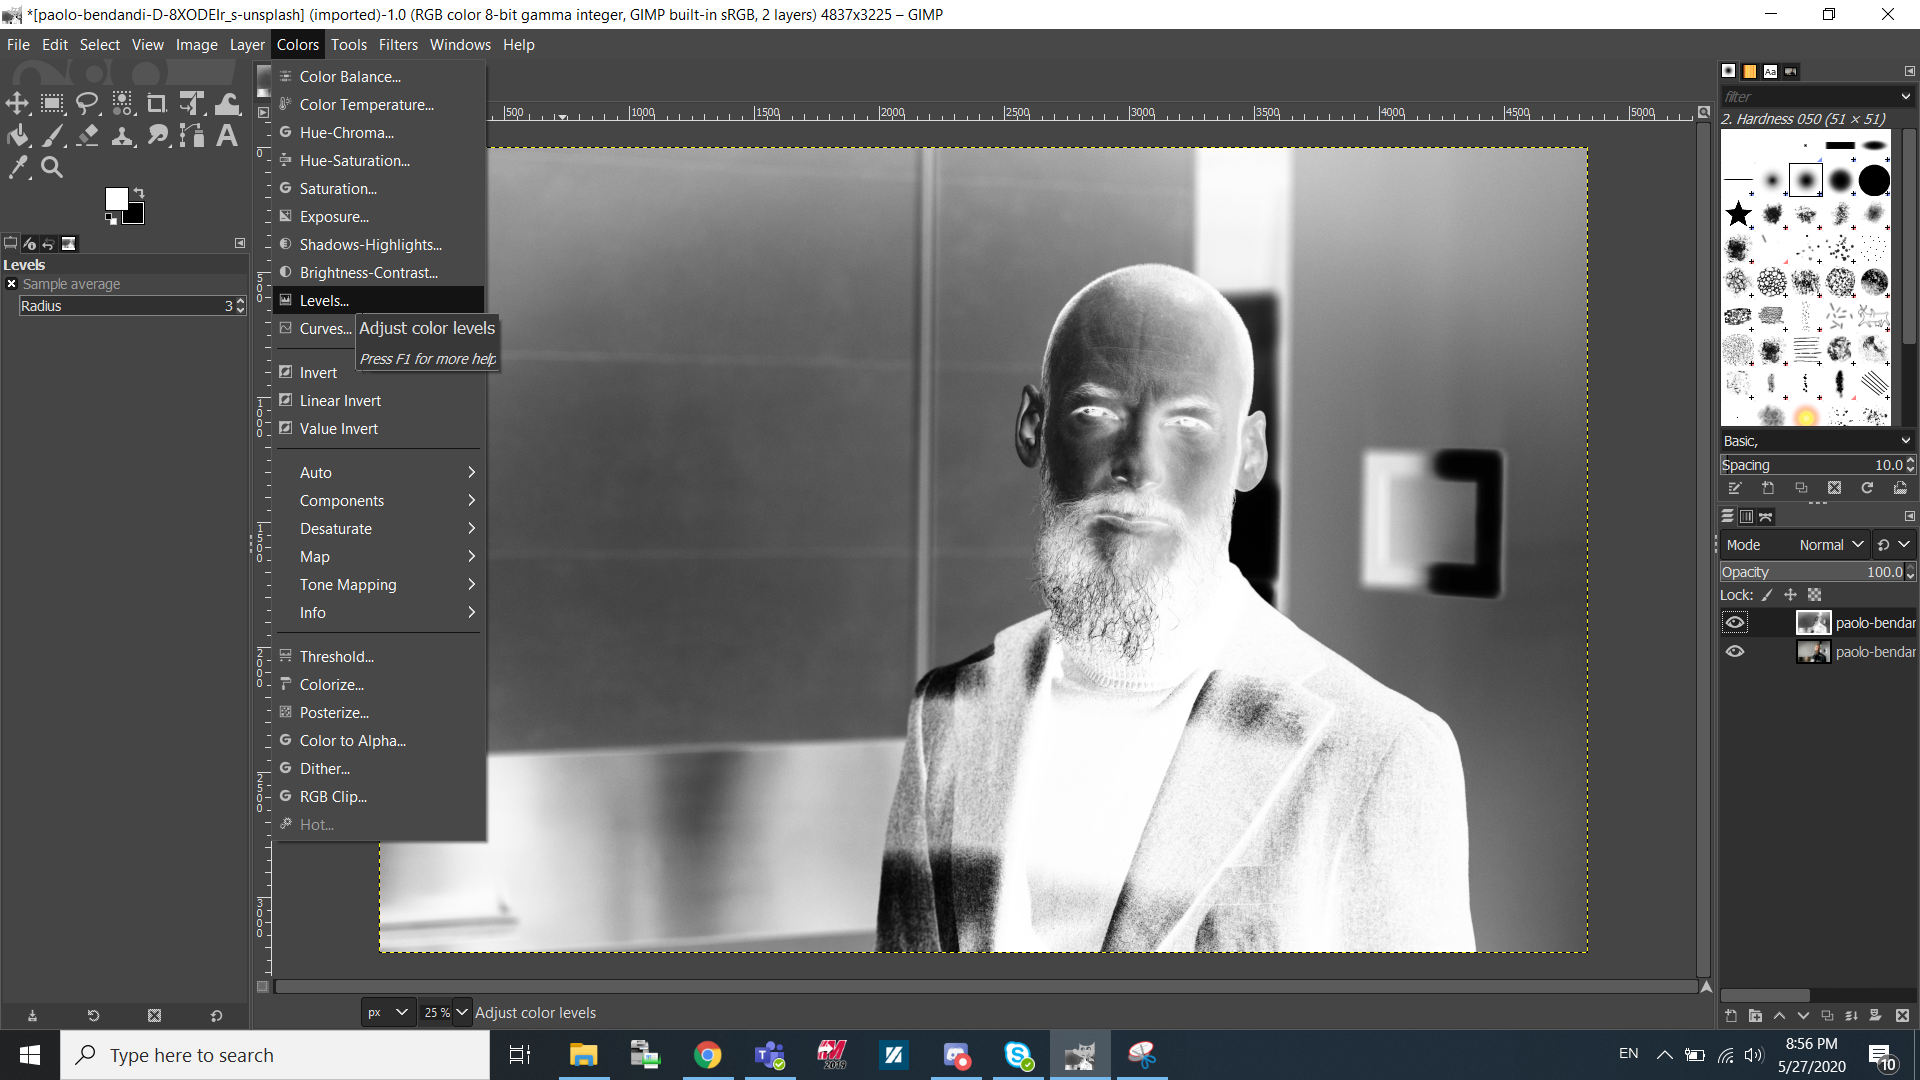
This will invert the colours to make the person more white and the background more black. Now under colours, click Levels
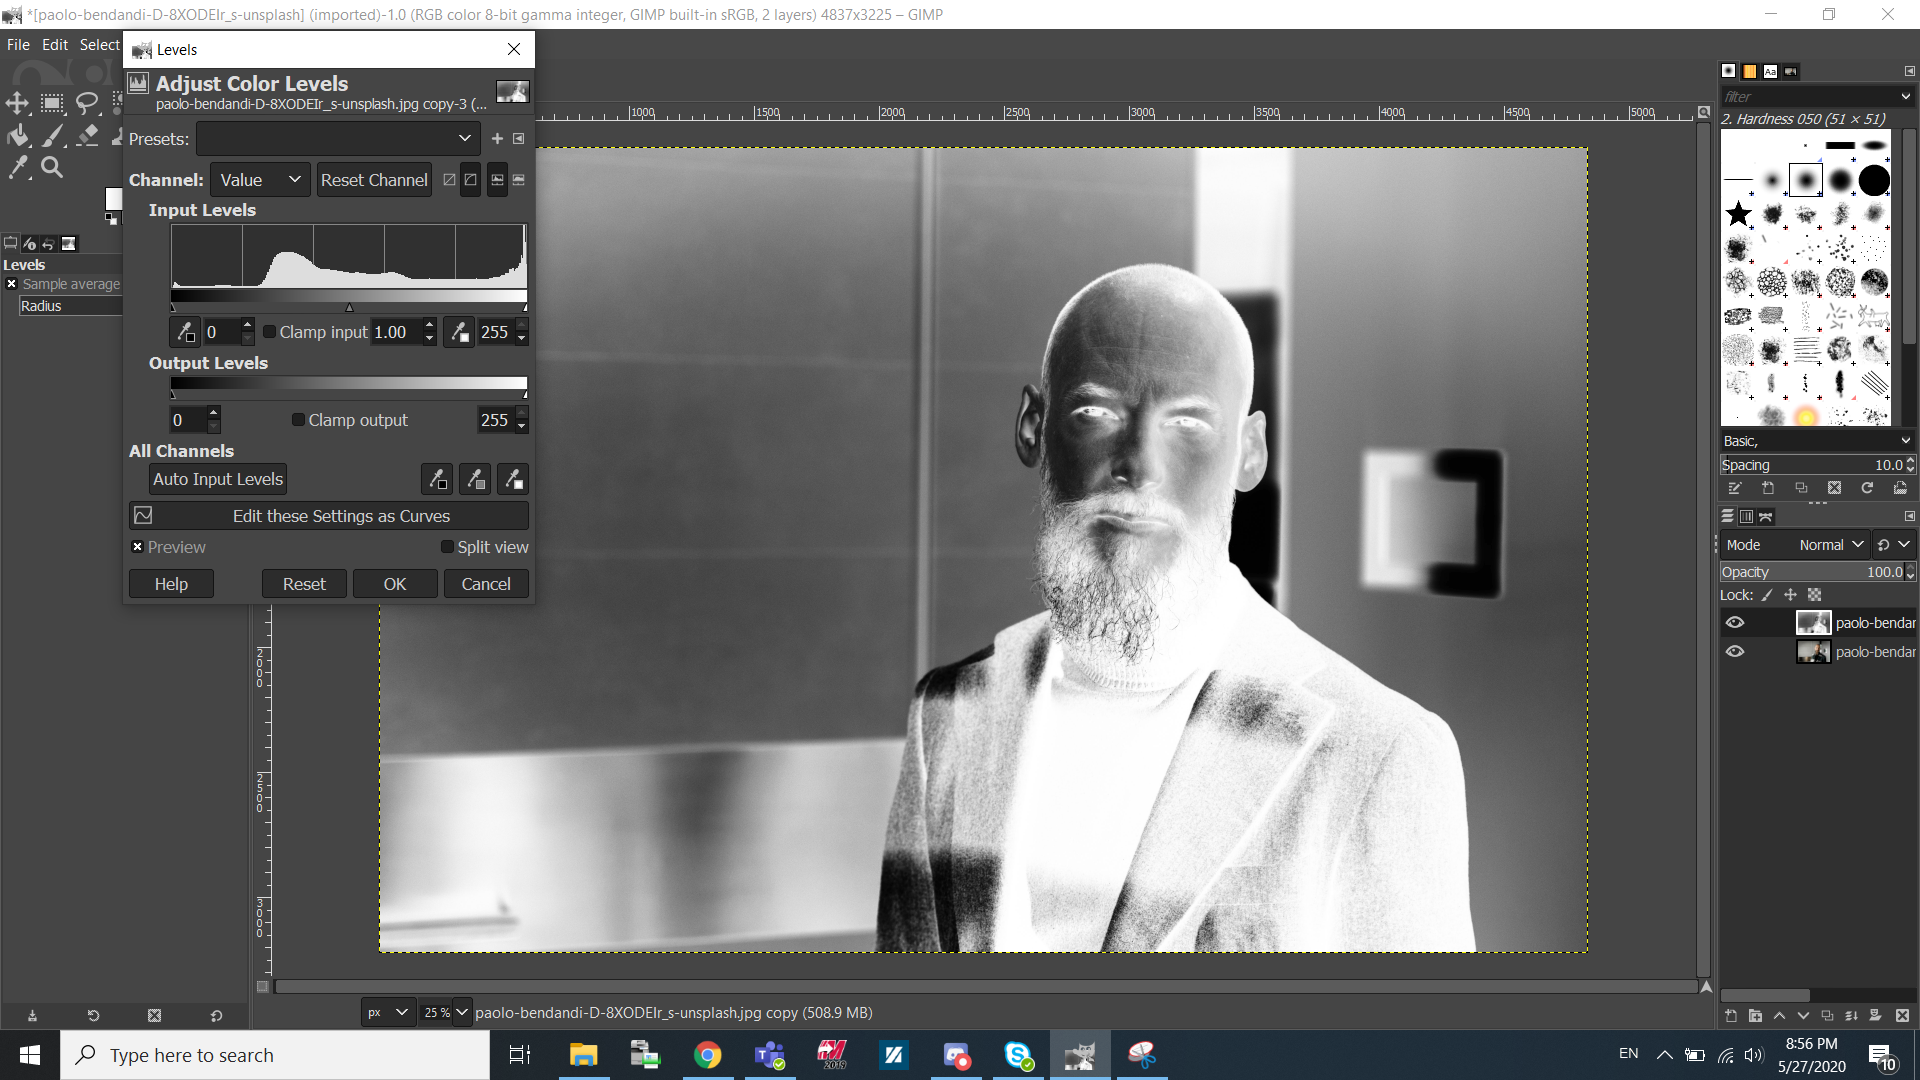
In here we can adjust the sliders to make the background darker and the person lighter.

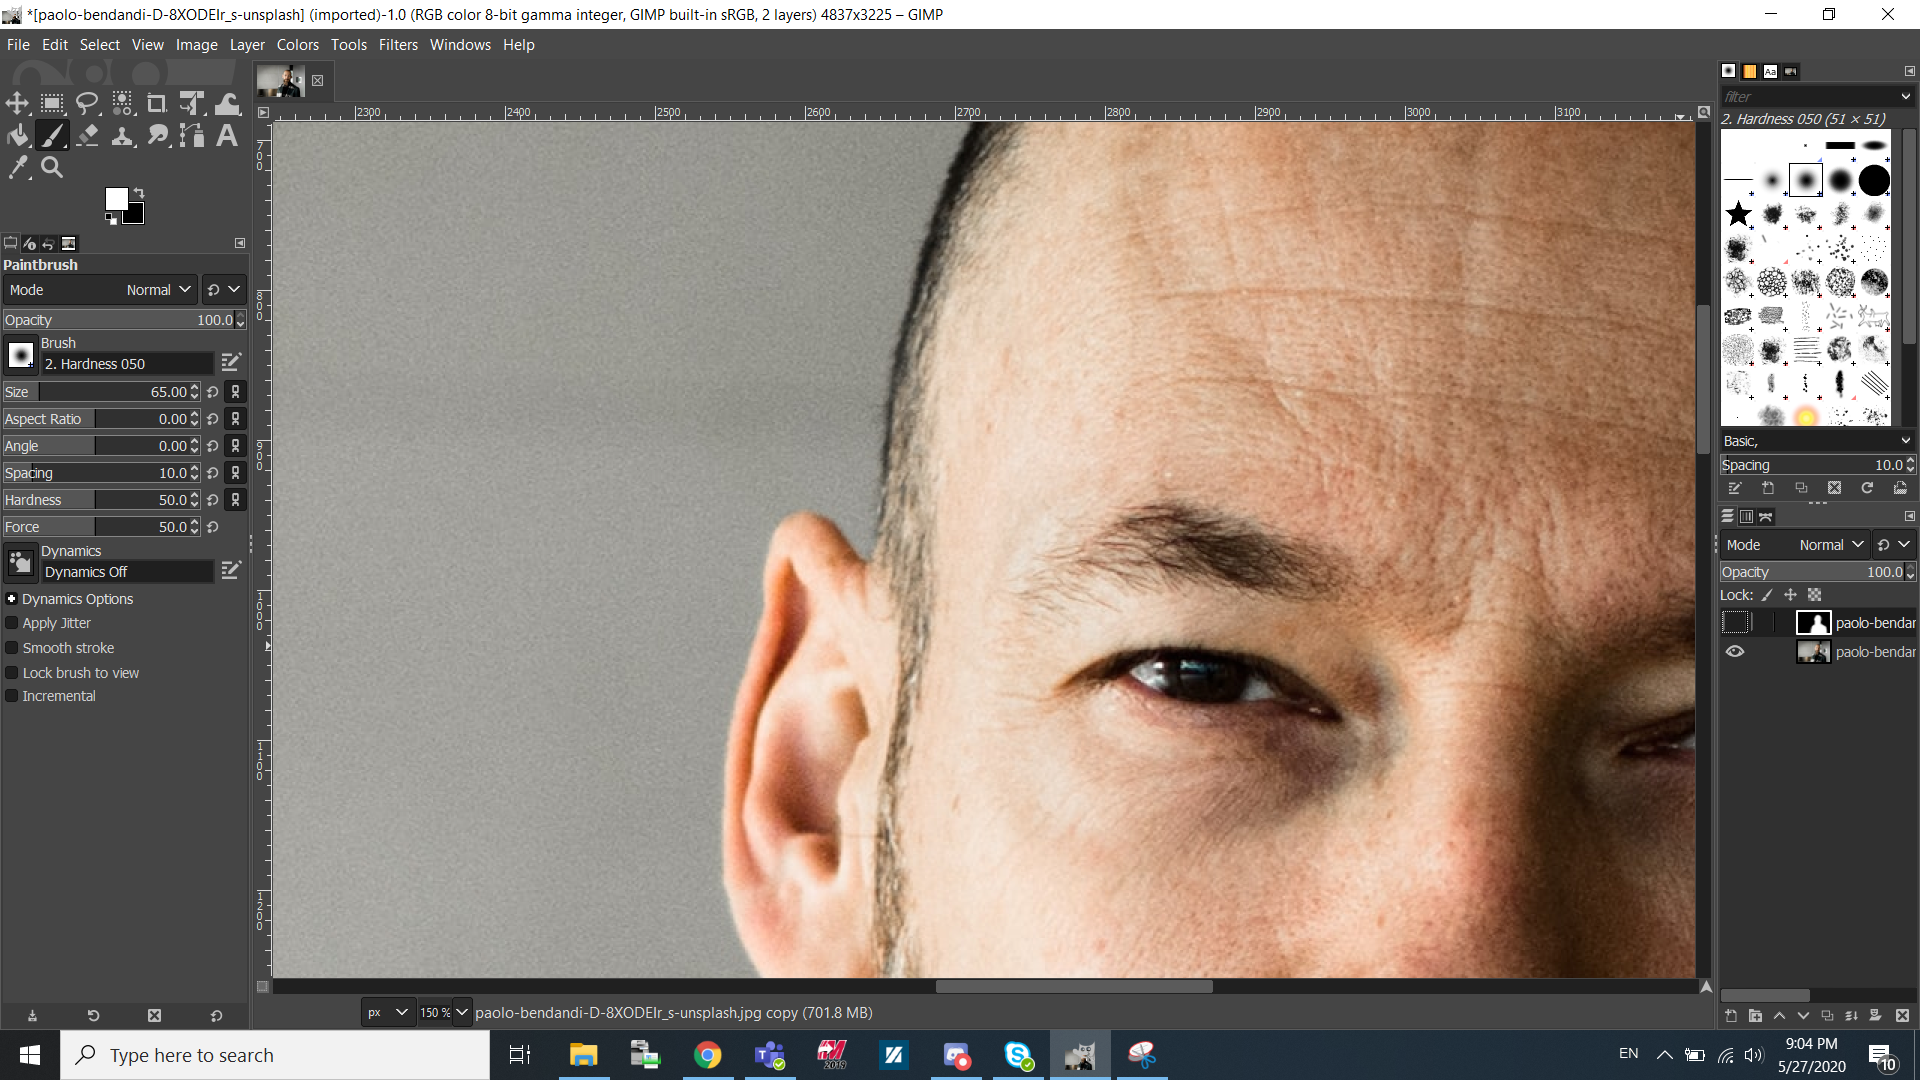
But as you can see here, moving the sliders for this image didnt give as much contrast as I wanted. If this is the case then focus more on paintbrushing.
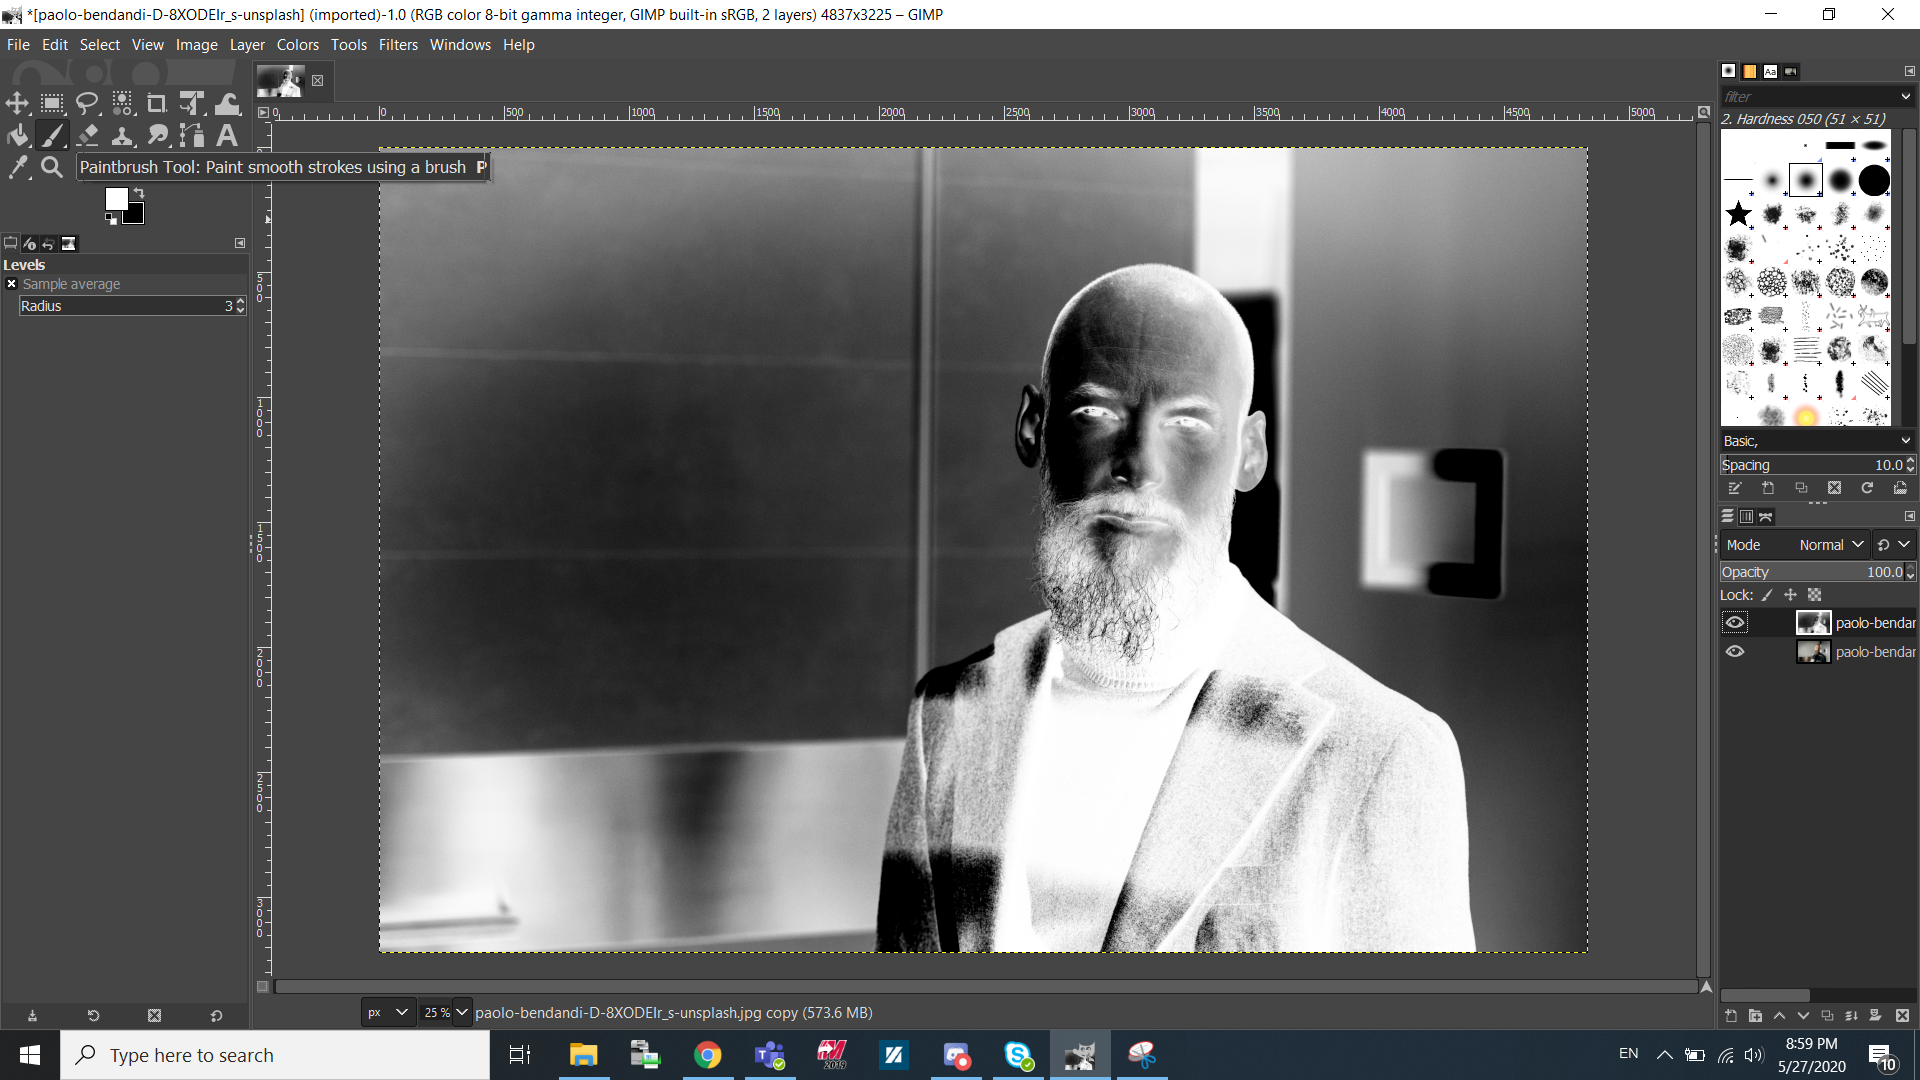
Find the paintbrush tool on the left column.
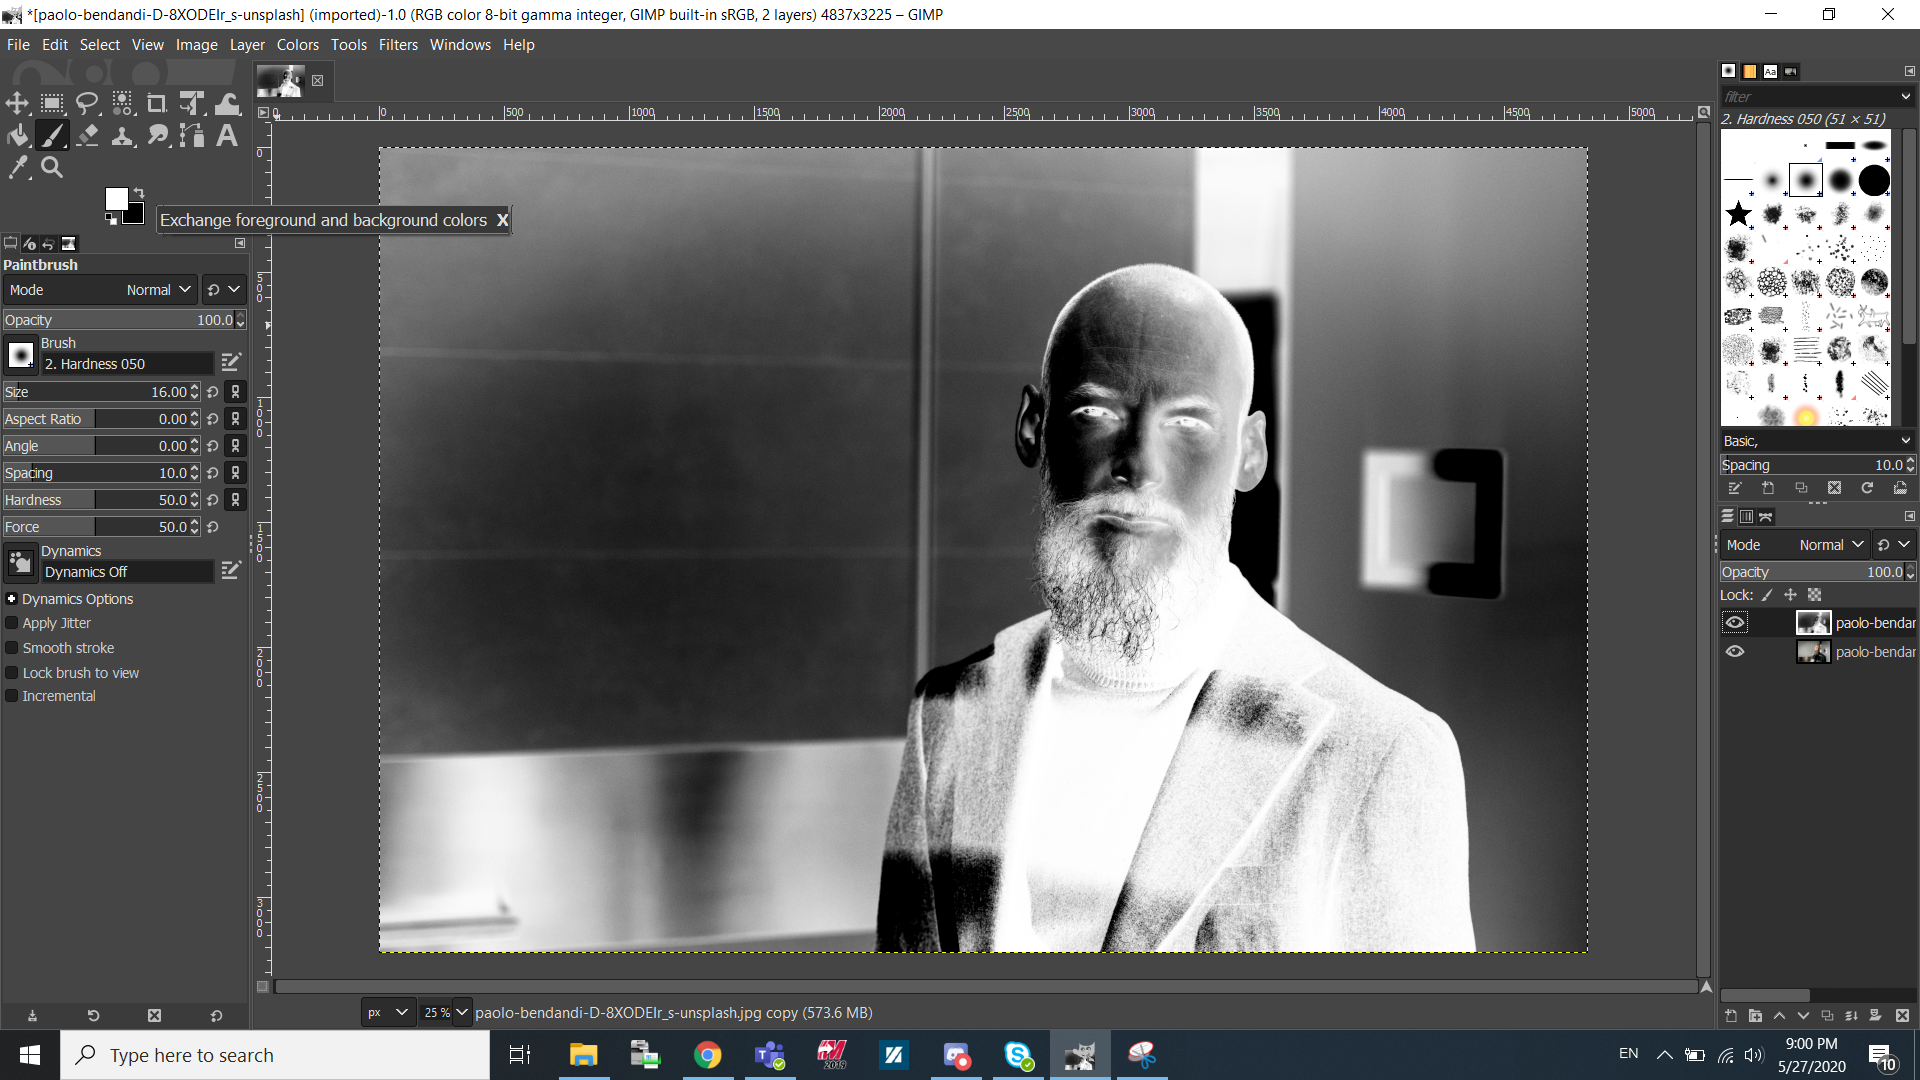
The paintbrush colours can easily be interchanged by clicking the corner arrows.
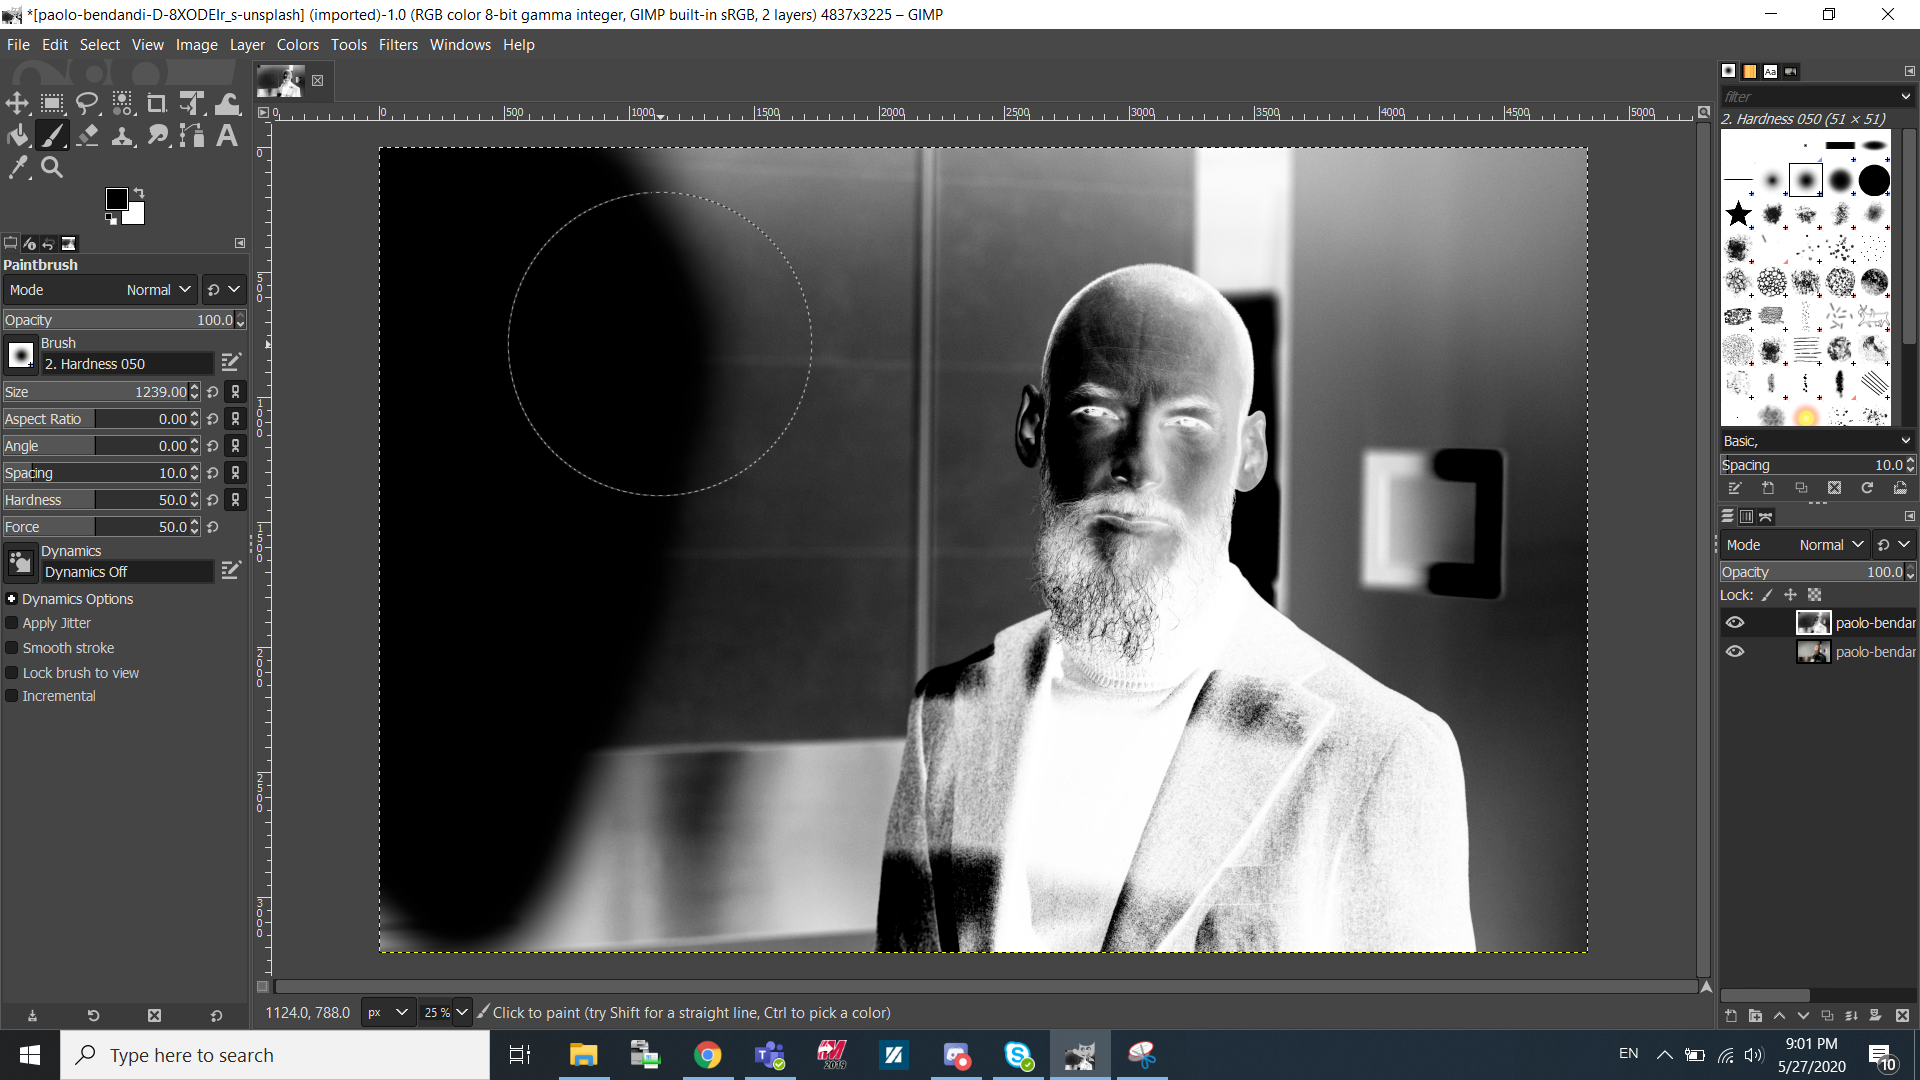
I chose black and increased the size of the paintbrush to cover more of the background faster.
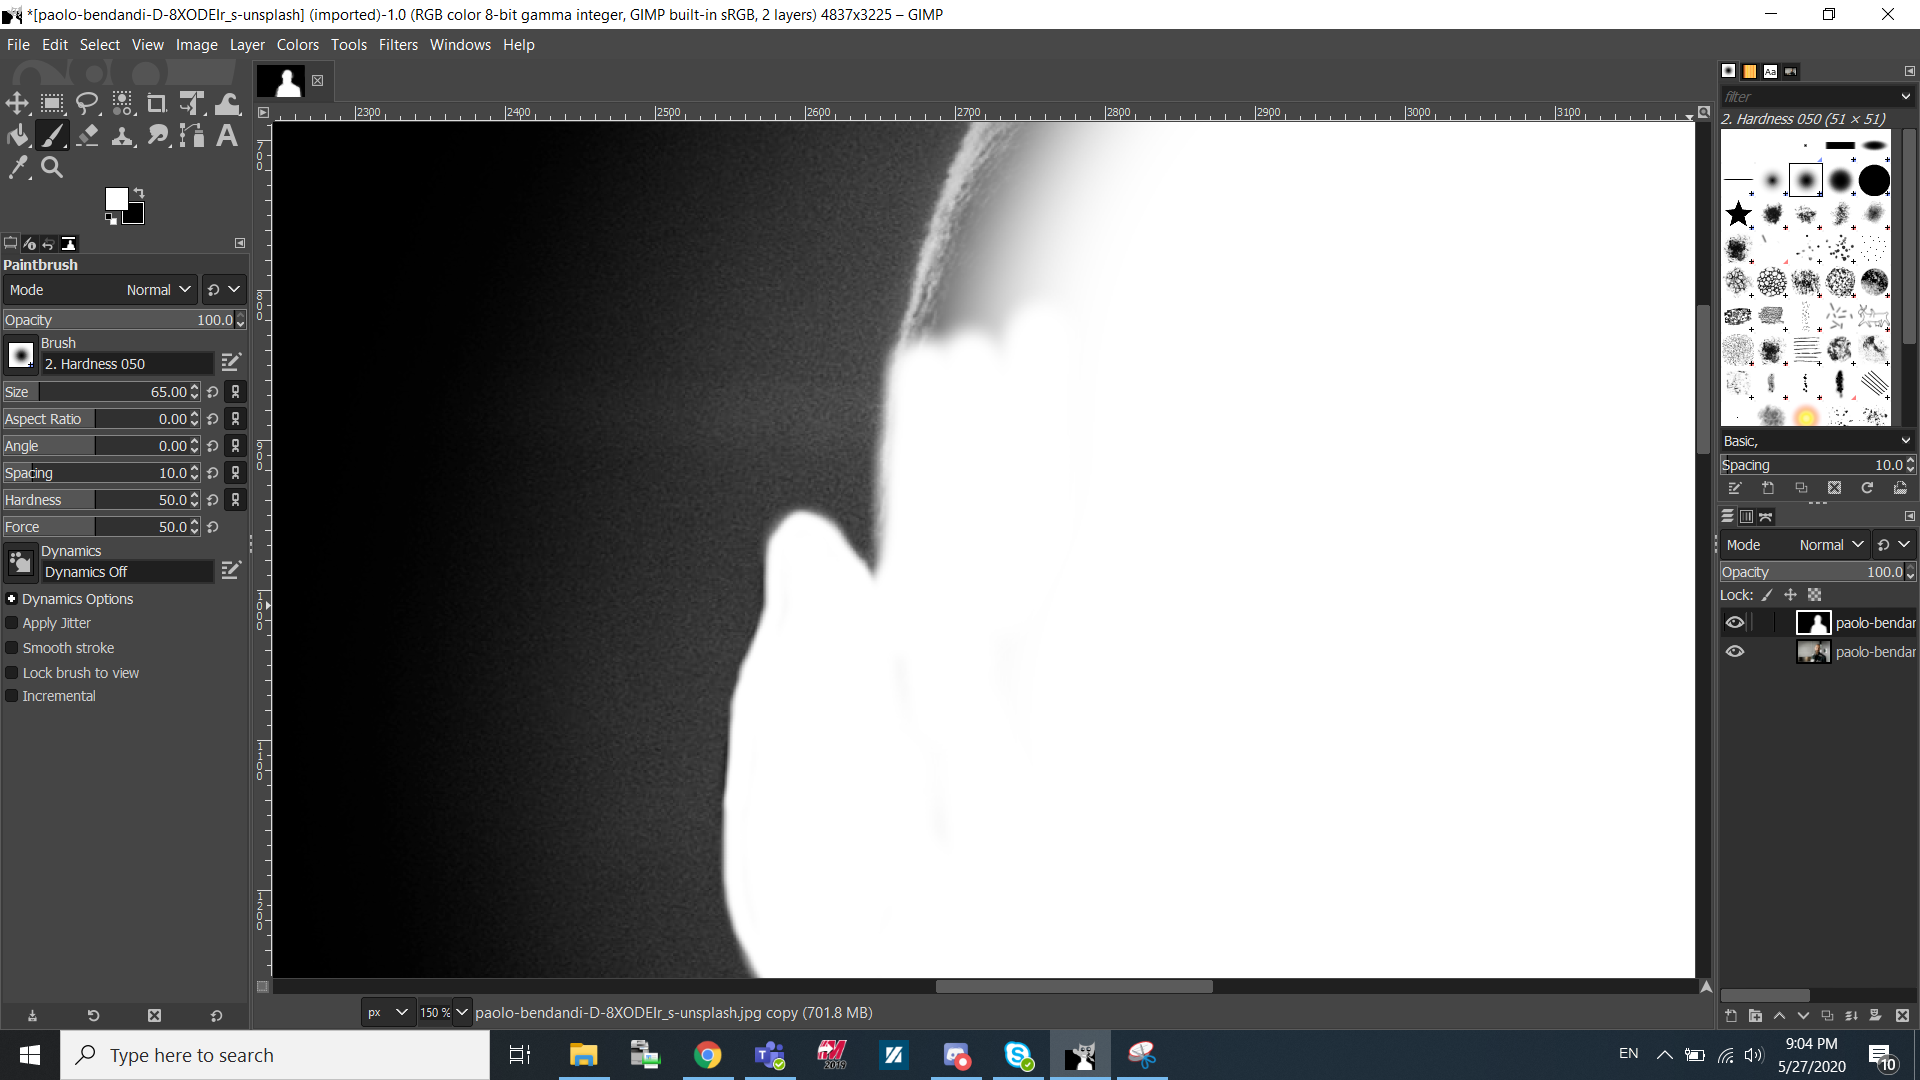
We can see from the 2 images above that by toggling the visibility of each layer (through clicking the eye icon), we can check if certain areas belong to the person or the surroundings
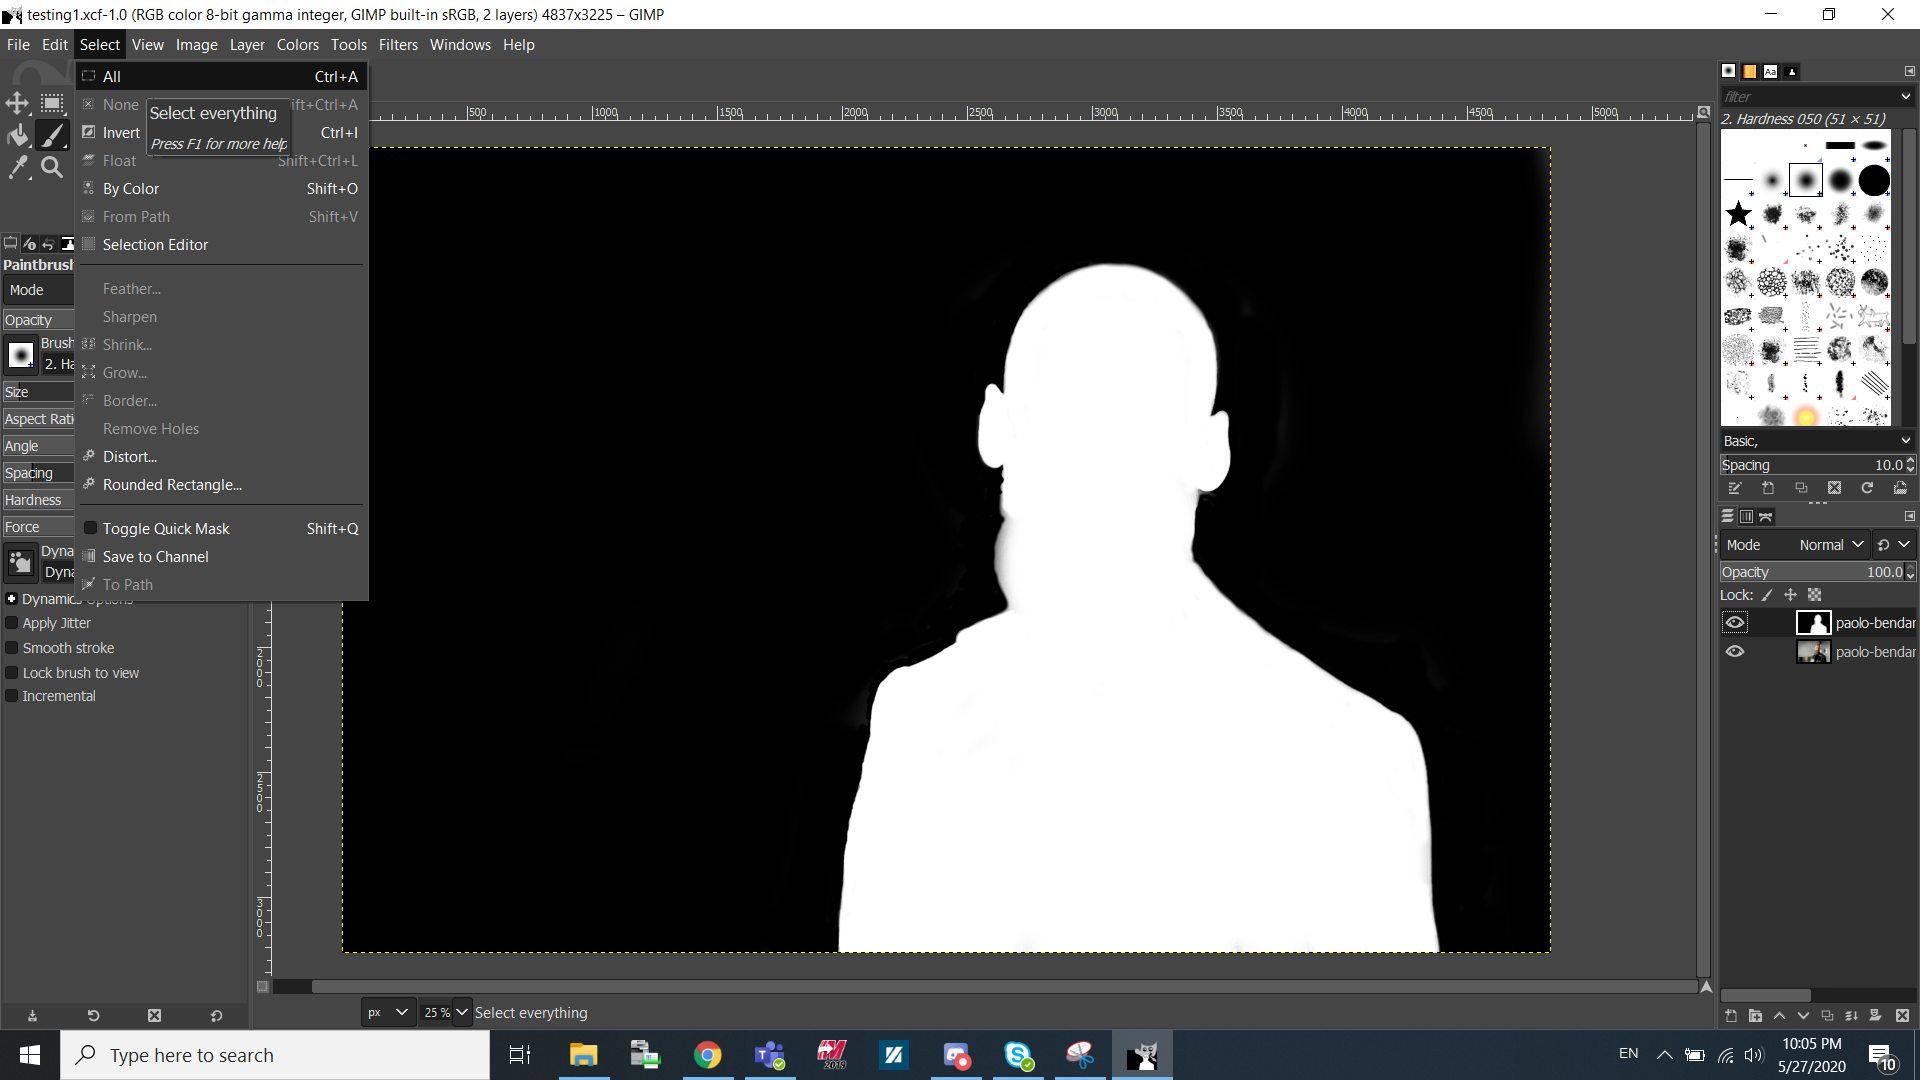
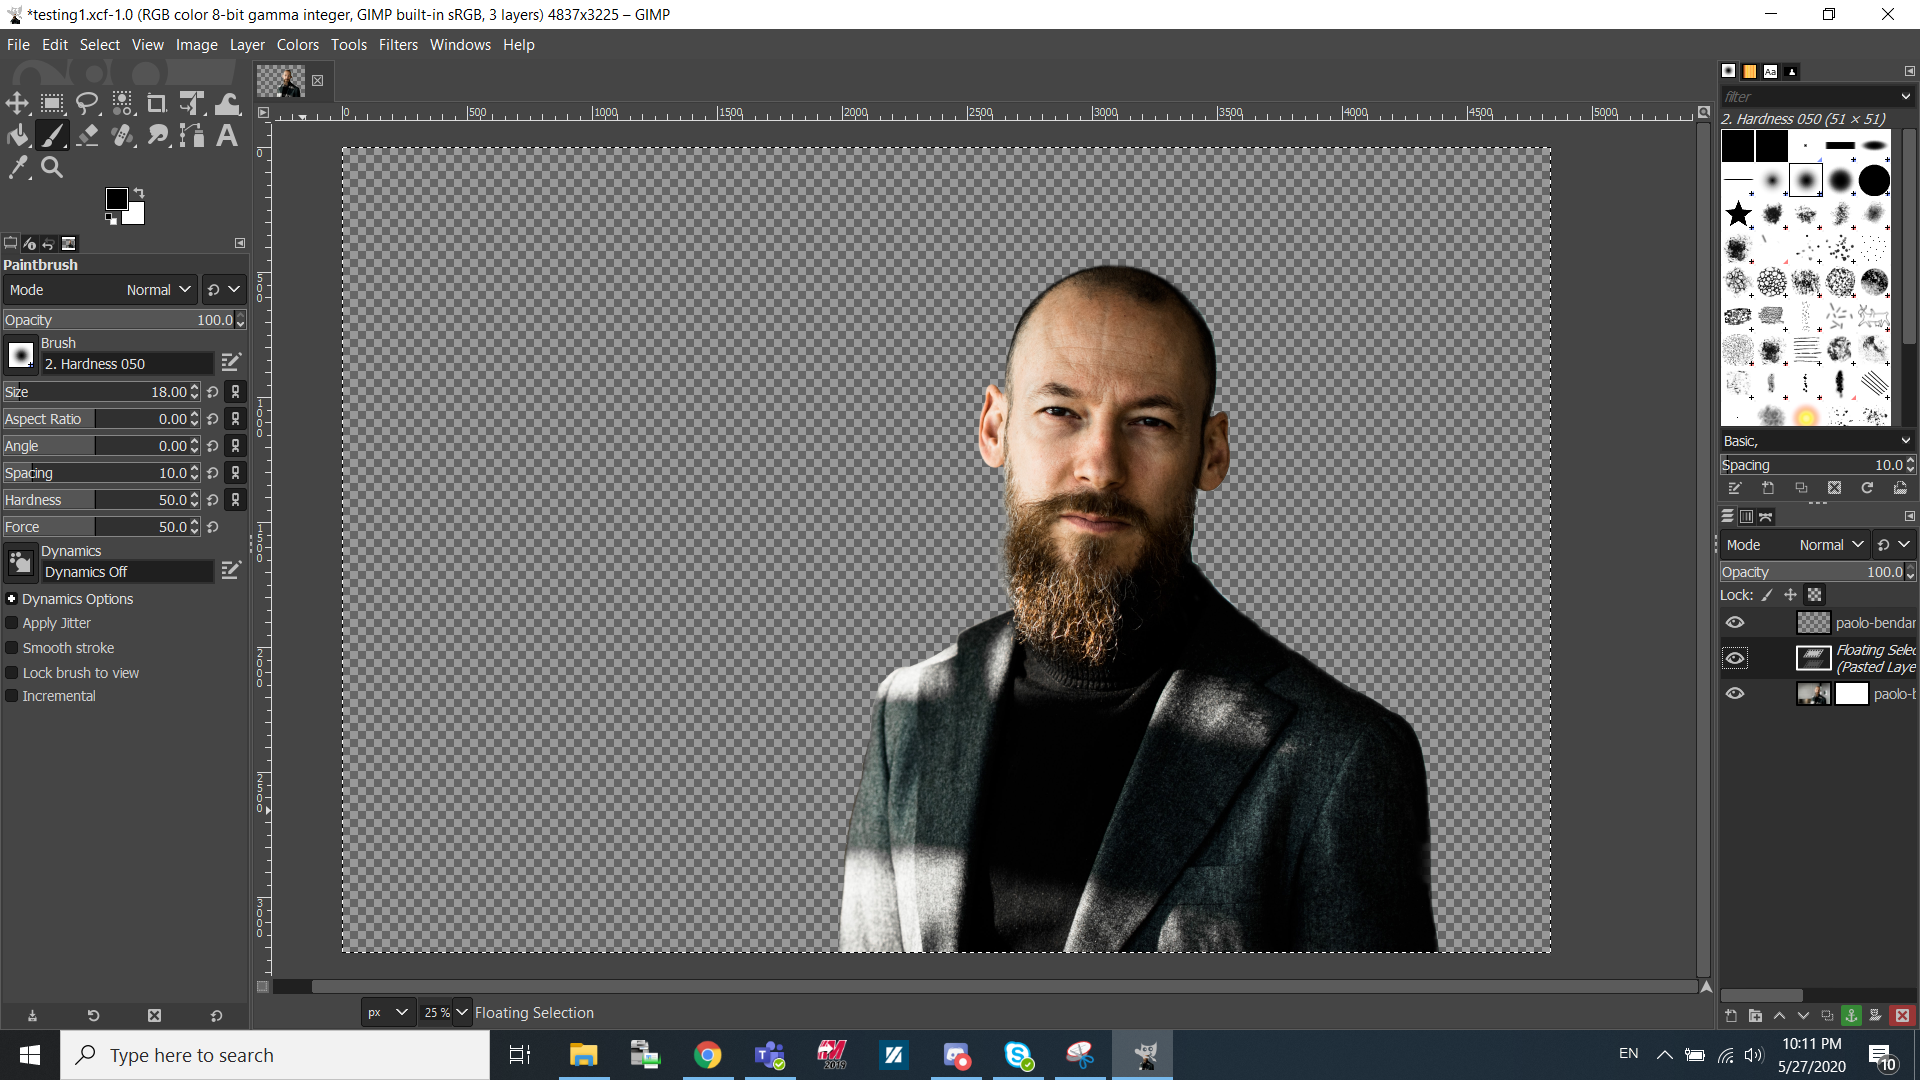
After colouring in the background and the person, we will get a something that looks like this. Click select and select all. Go to edit and cut the image. Remember to save your work as you go along
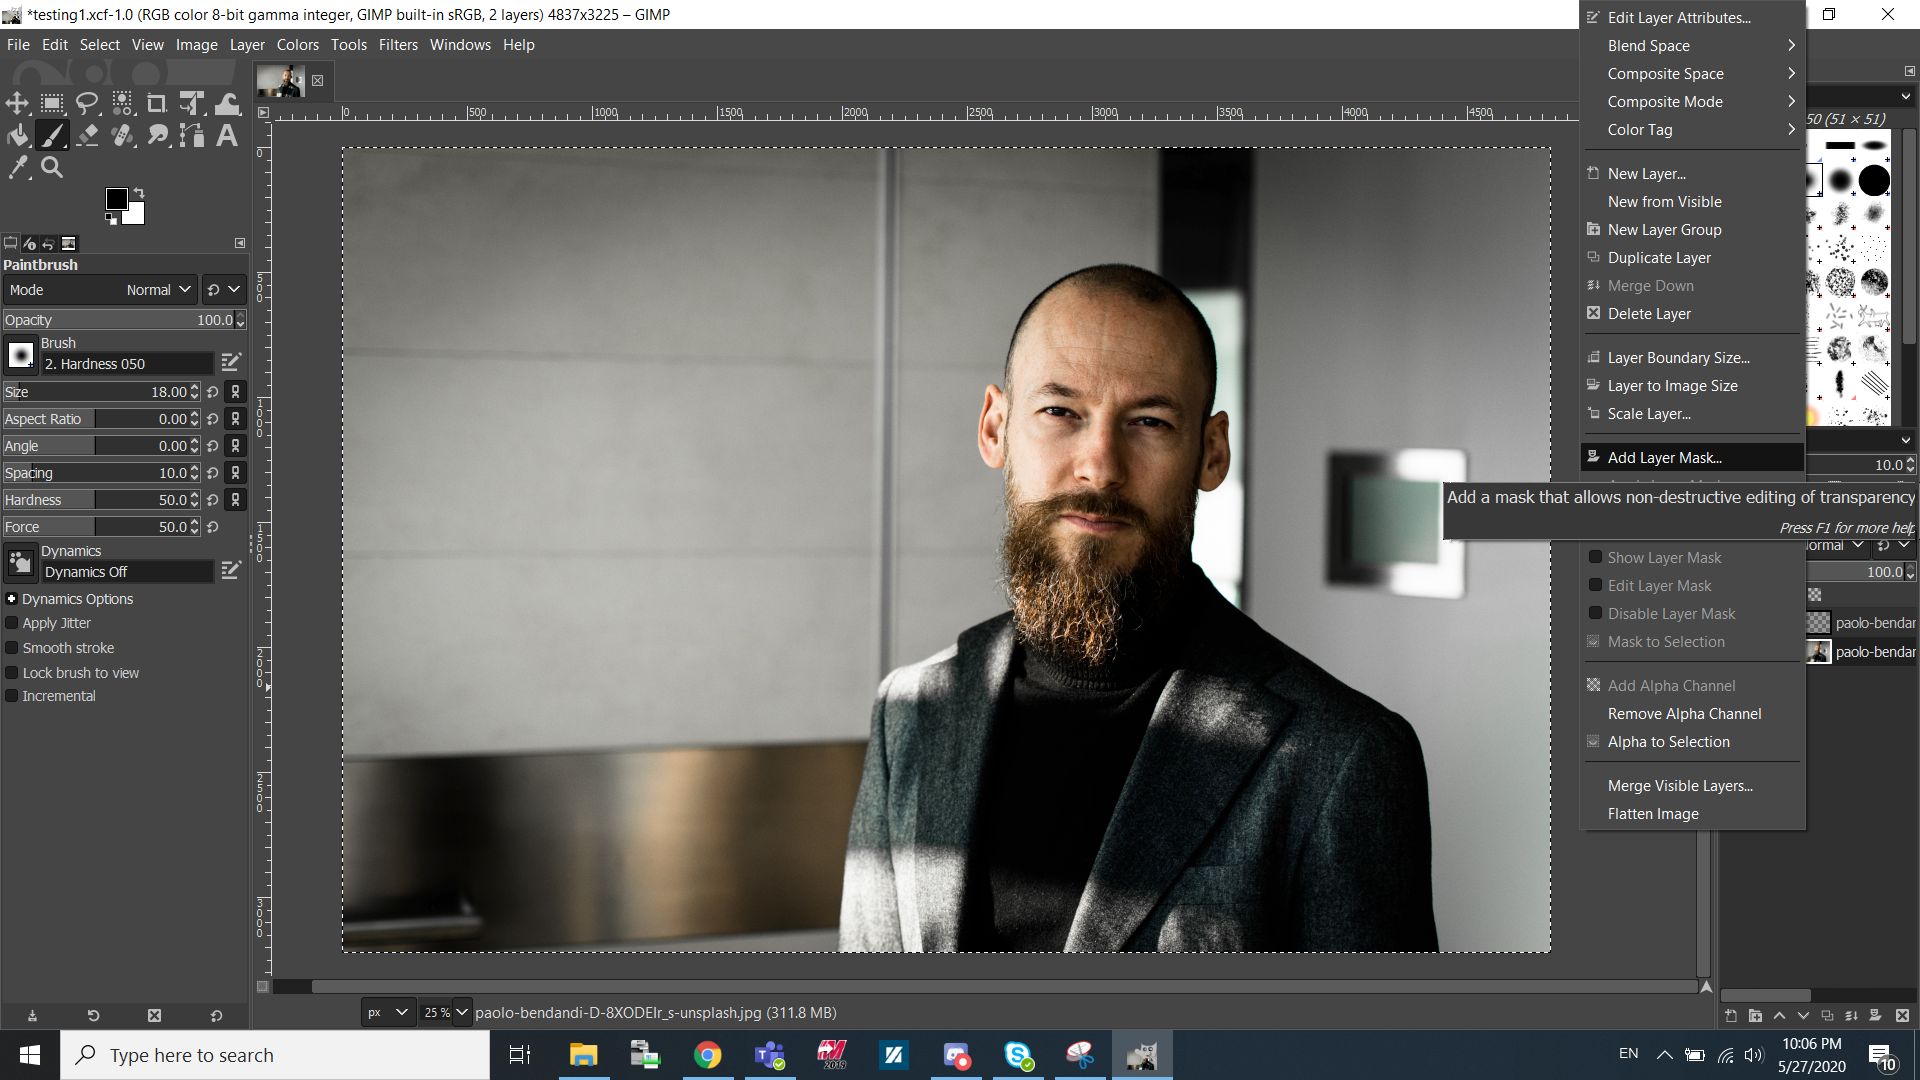
Now we select the coloured image, right click it and Add Layer Mask
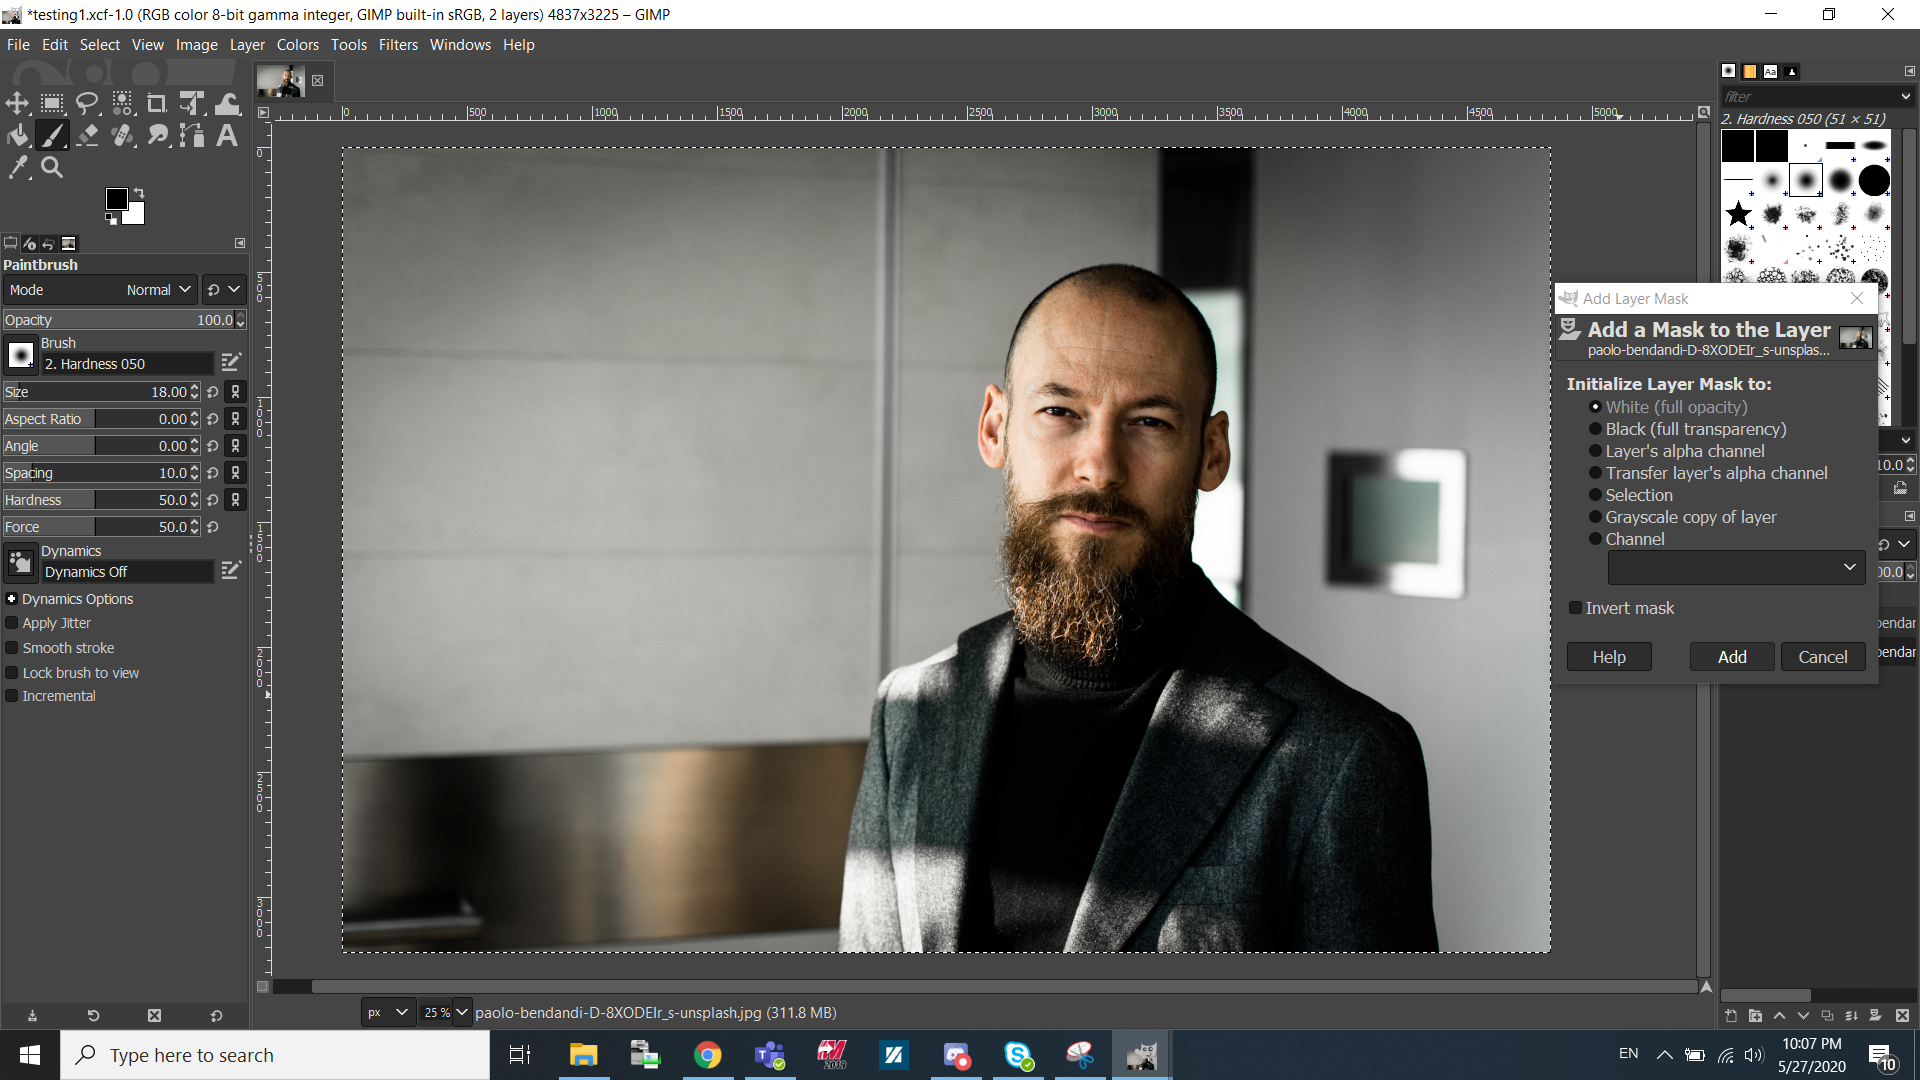
We need to ensure we have White (full opacity) selected and then click add.
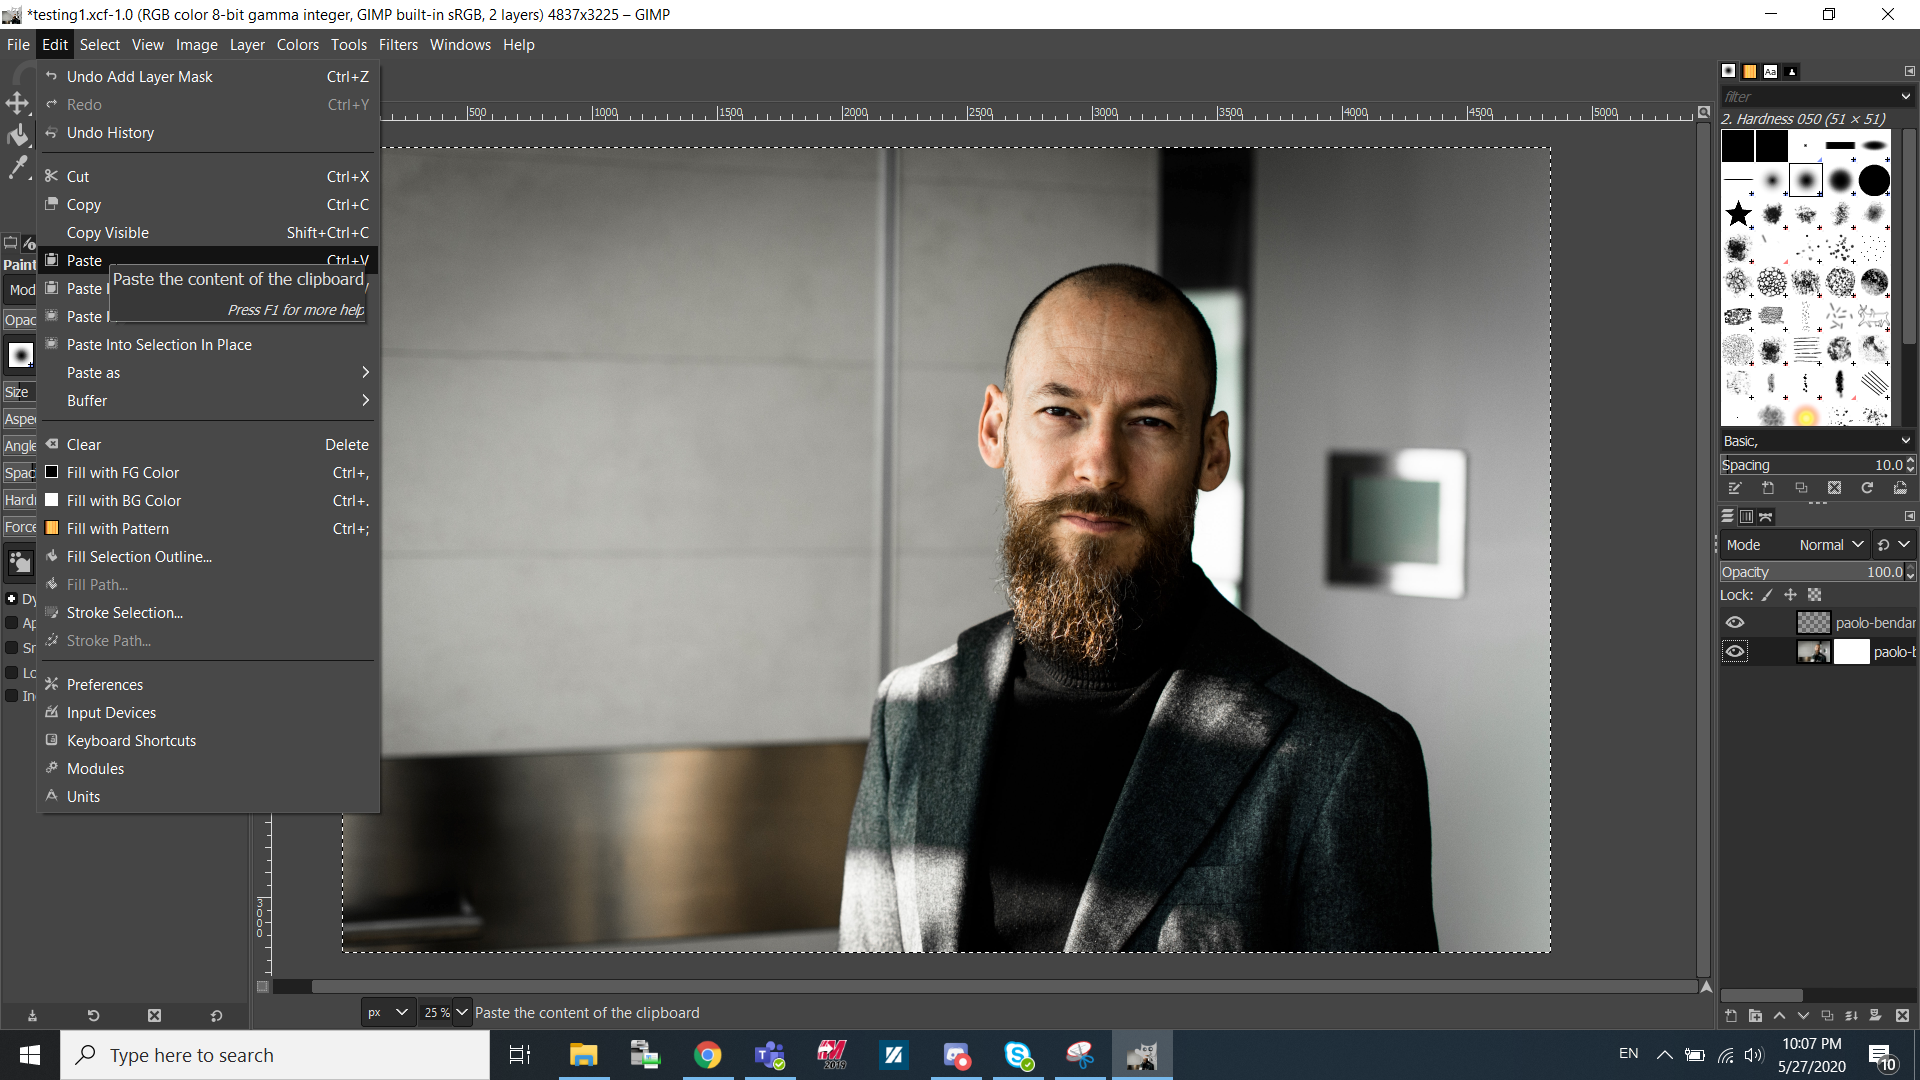
Go to edit and click paste.
A floating layer will appear. Select it and press the green anchor button located at the bottom of the right column. At this point we can also delete the layer we had cut earlier.
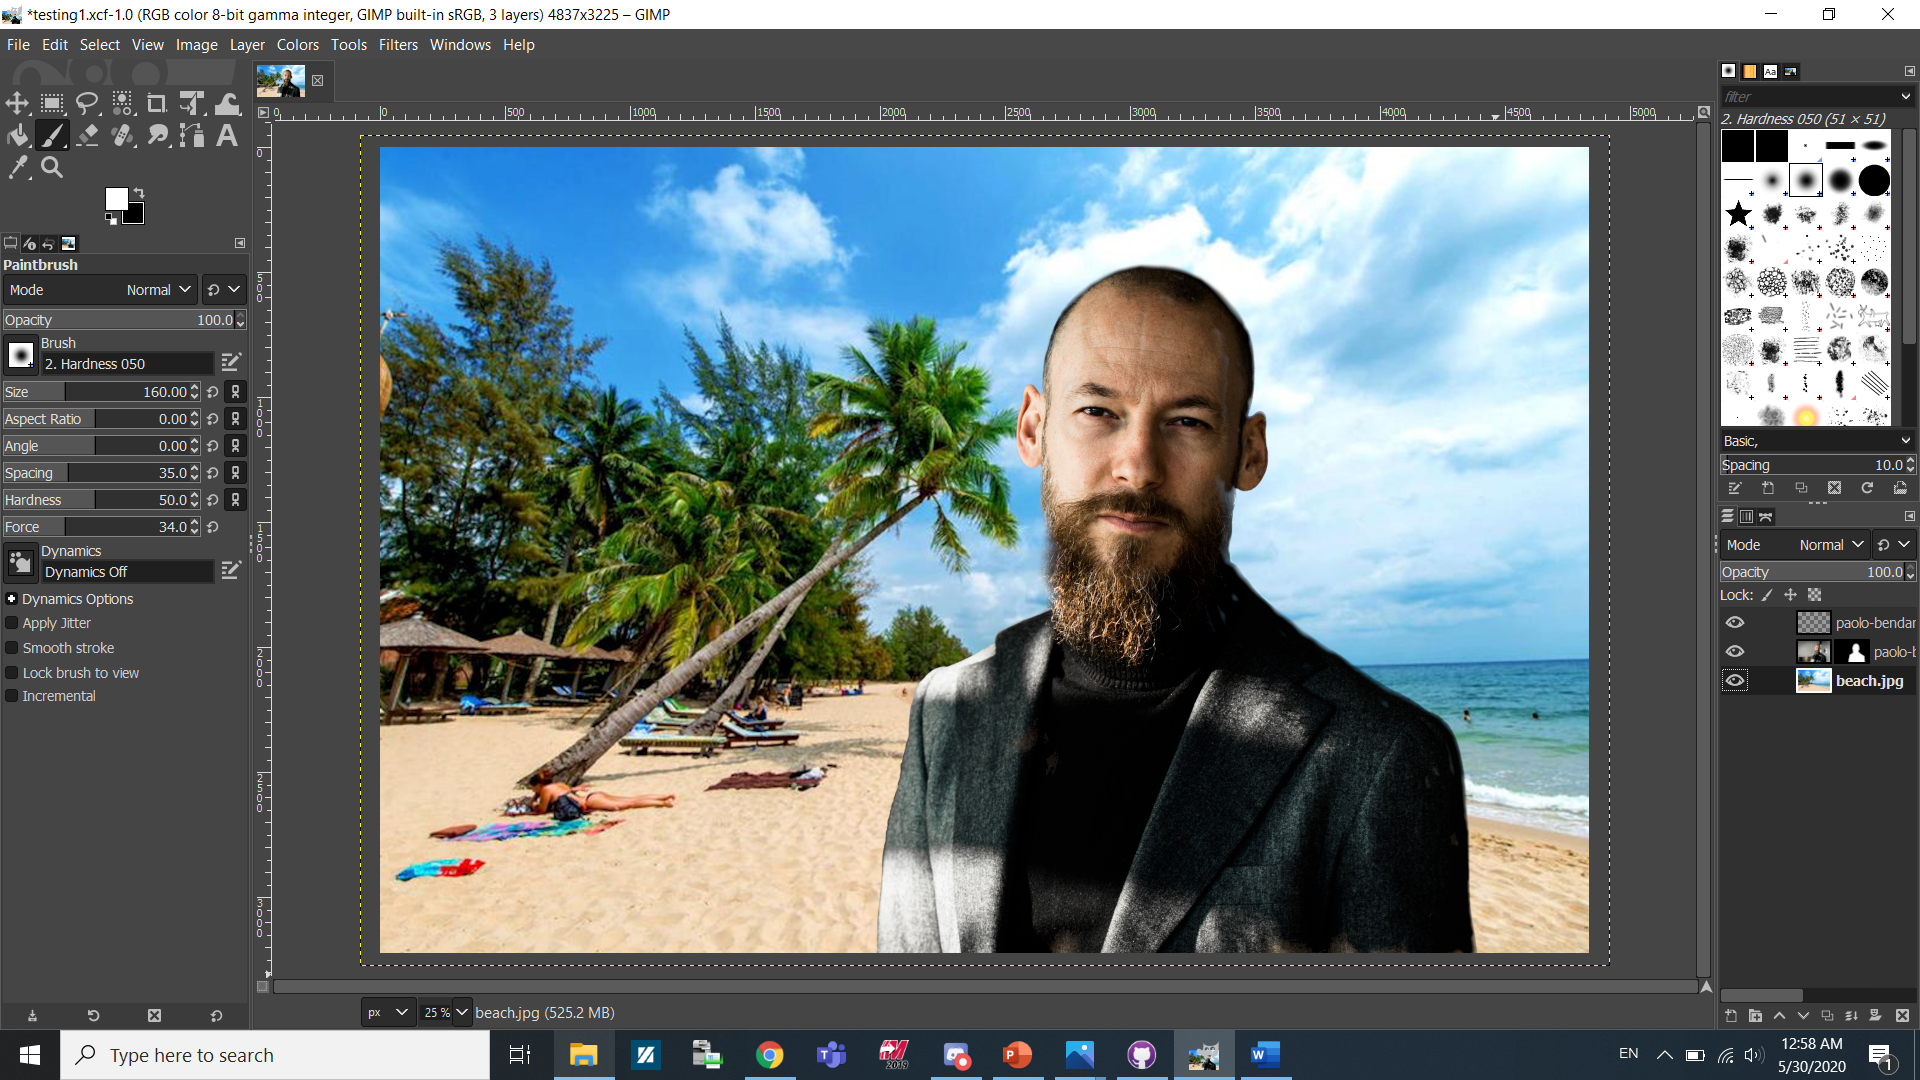
Now you can add in your background. For mine it will be a beach image found here. Once again the popup will appear. Click convert. Drag the beach layer down so that it will be below the person layer. Save and export.
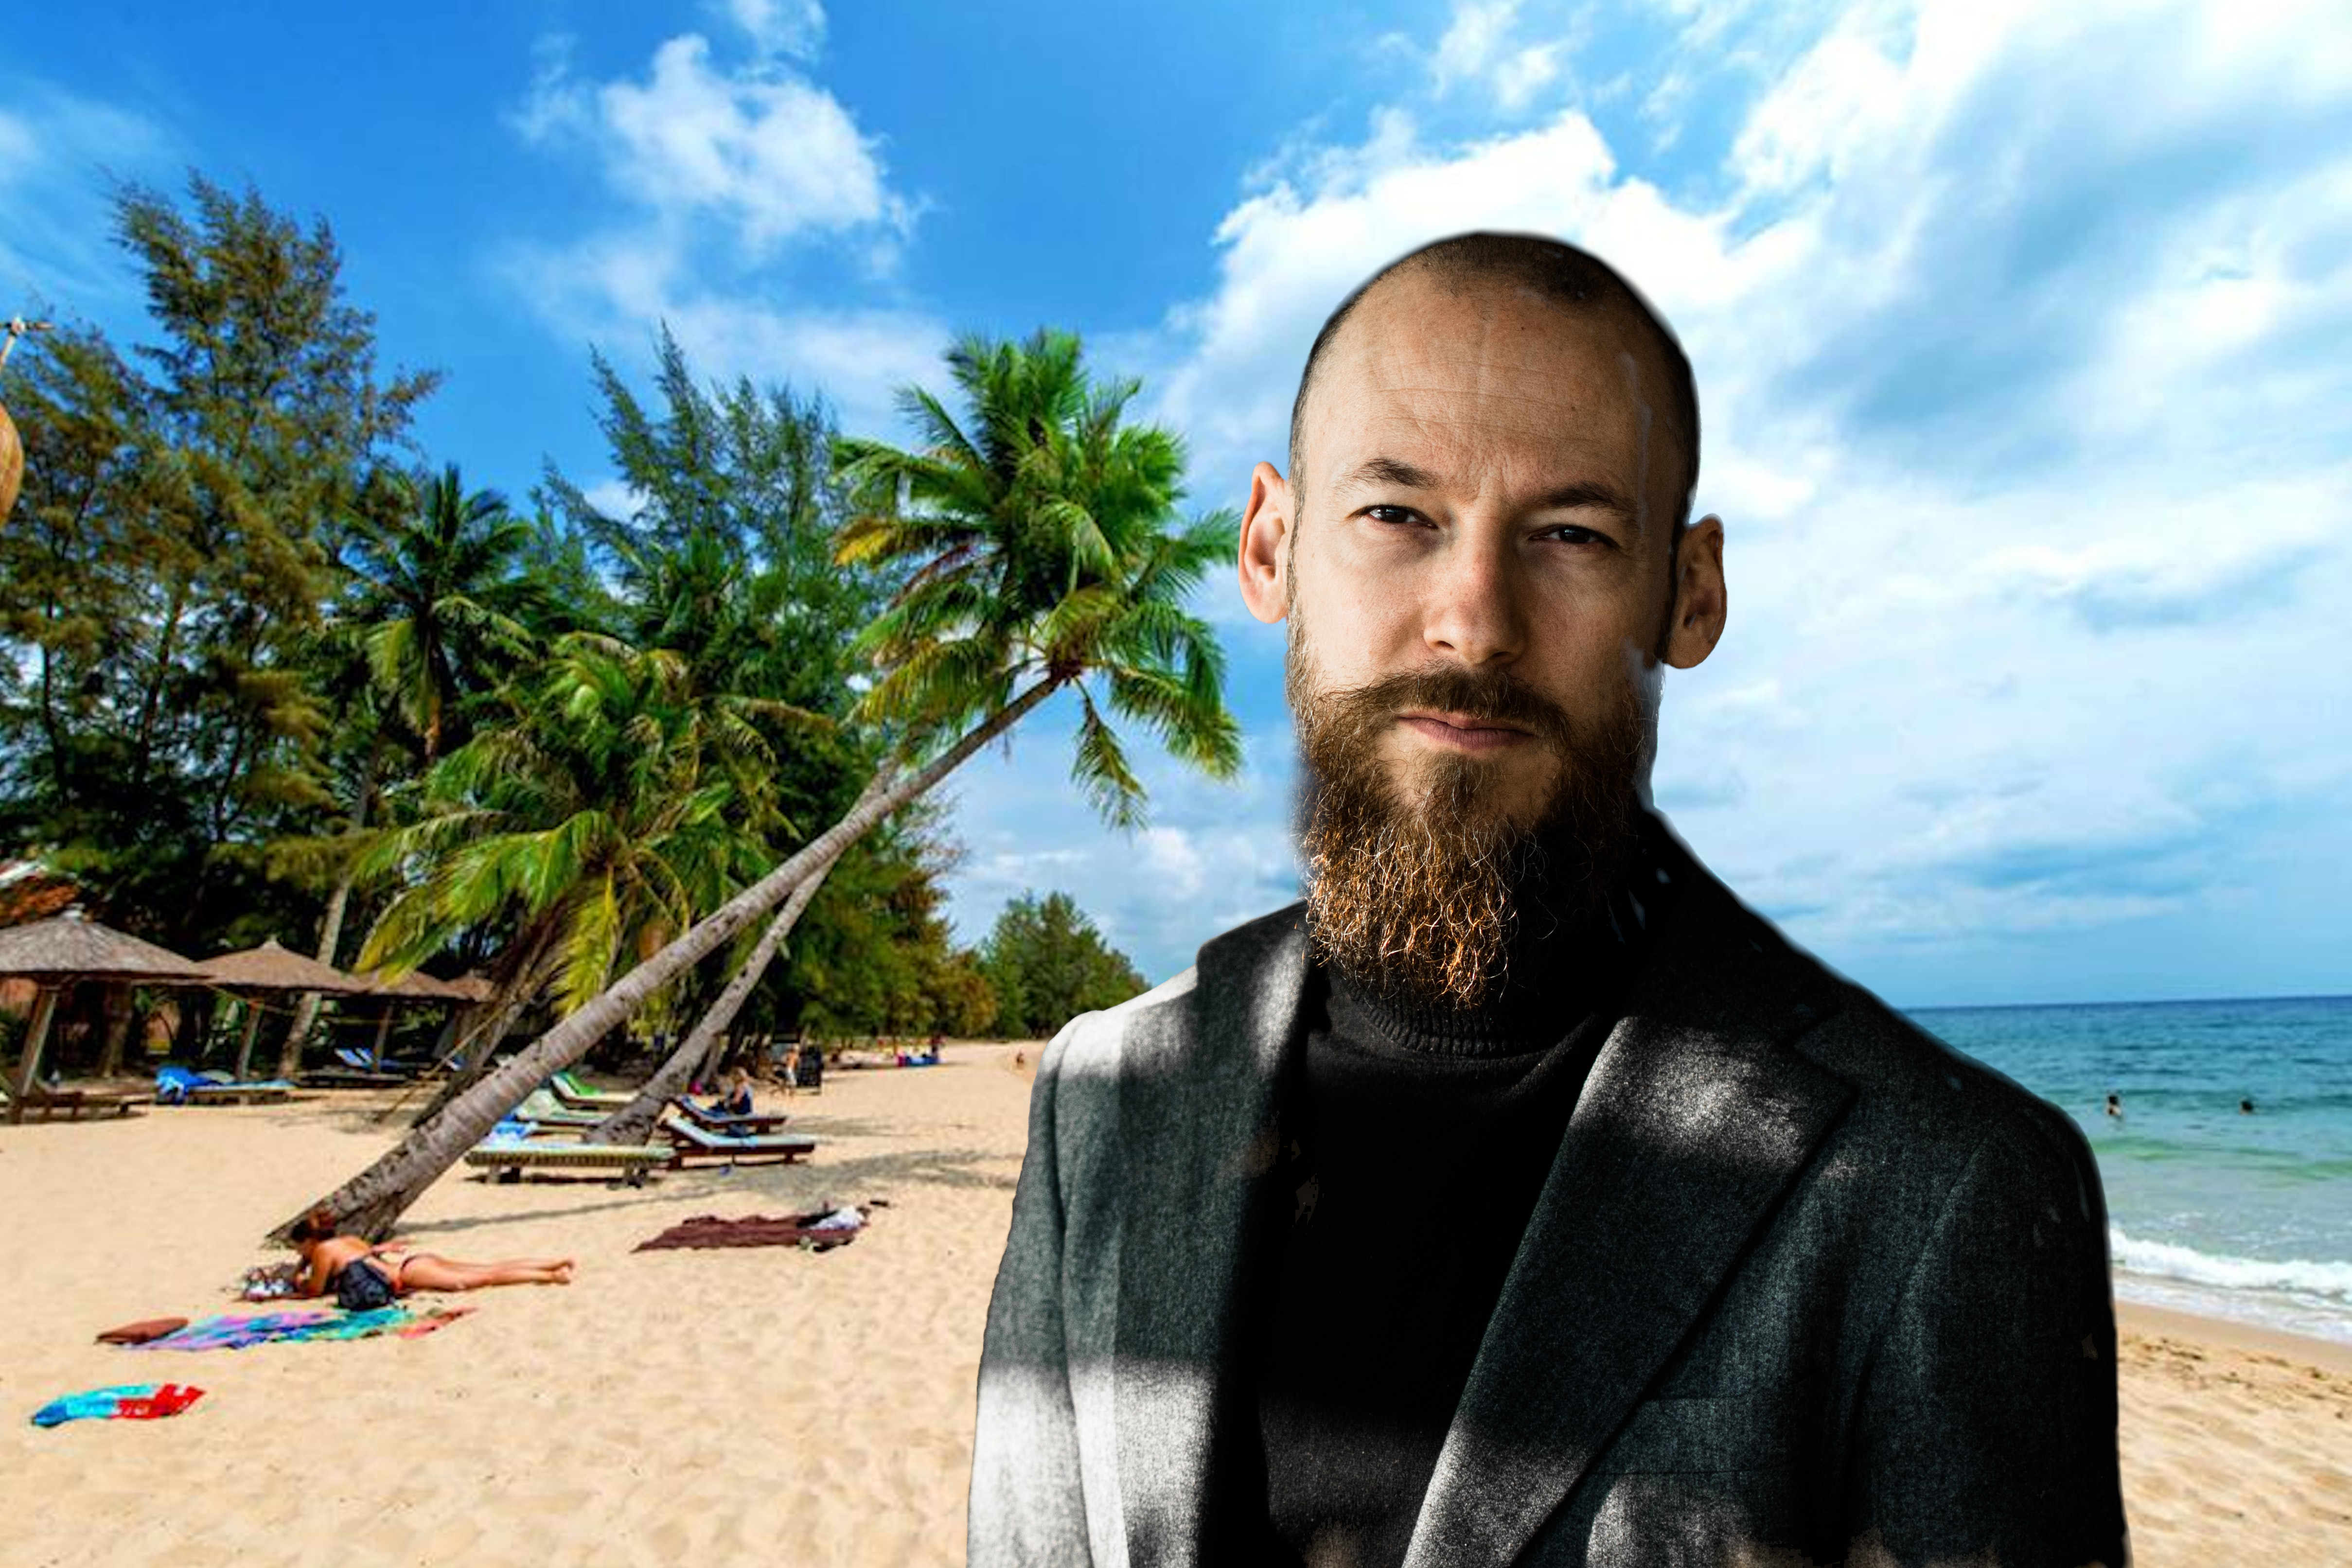
You can download the image here